


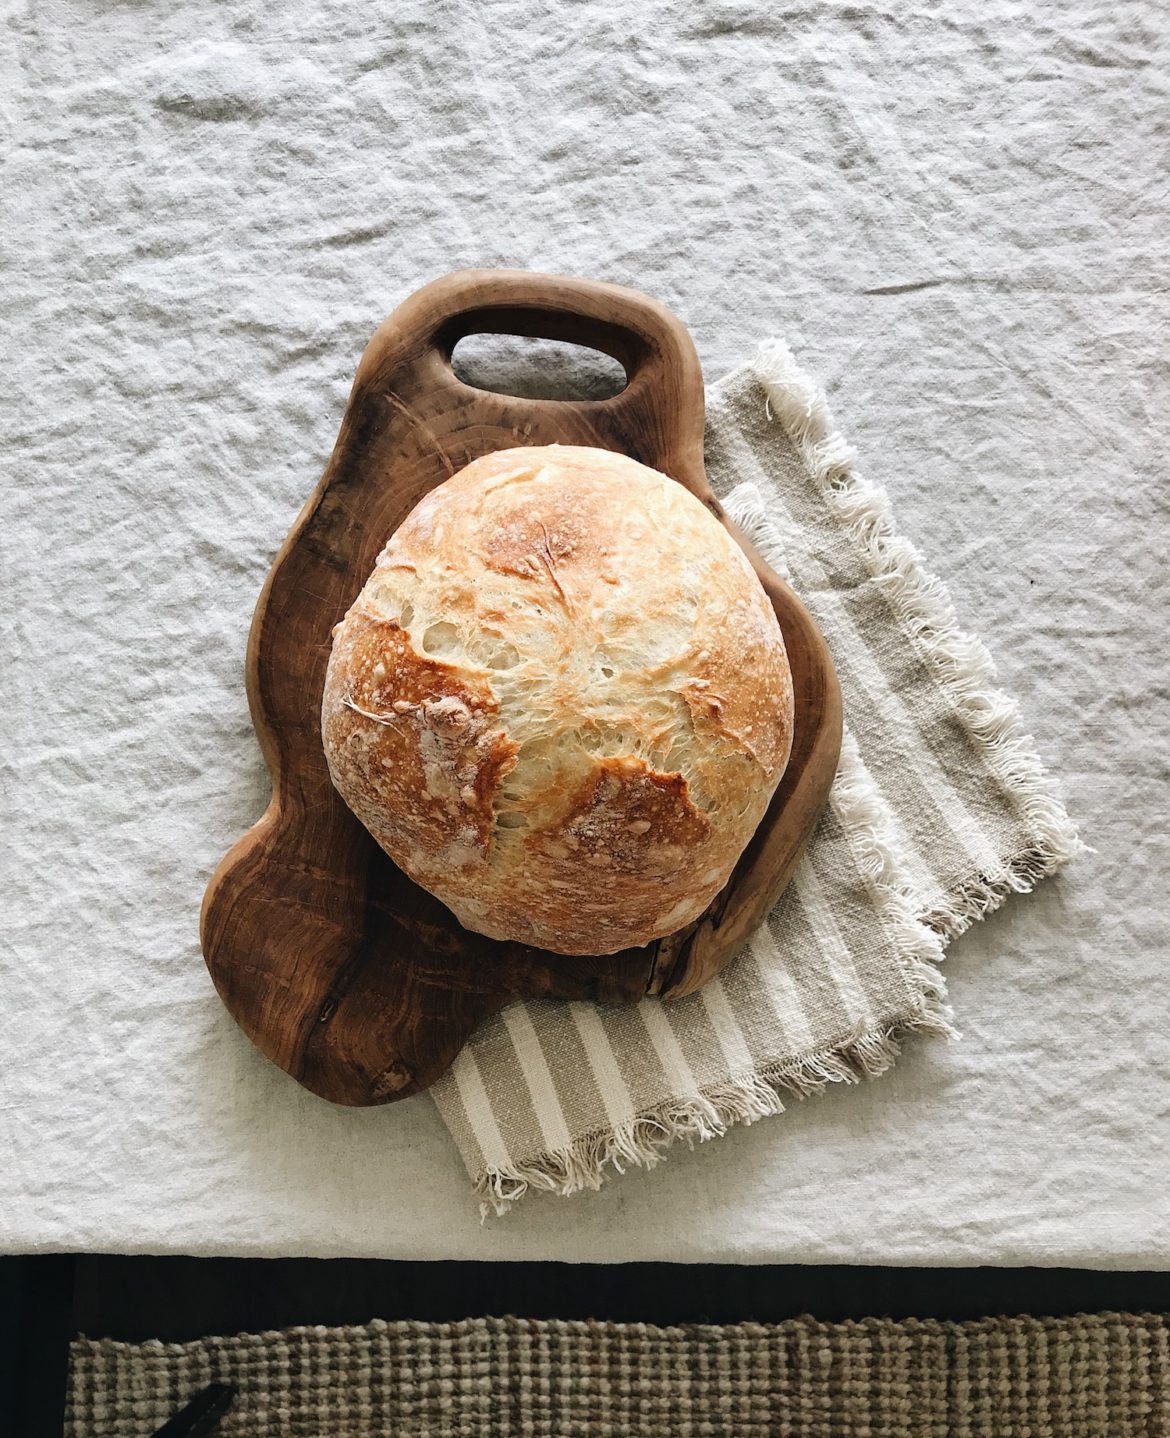
This homemade bread recipe tastes like life at 10 years old –> all delicious & nostalgia-like.
Are you sitting down? This is theeeeeee best homemade bread recipe. The. Best. It’s a staple in our home now and it’s delish. If you try to get me to buy bread in a store, we will need to talk. The bread recipe is waaaaaay simple to make. It only takes 4 ingredients (and one of those ingredients is WATER) and it’s no-fail perfection!
P-E-R-F-E-C-T-I-ON.
You’ll absolutely freak your face.

COVID UPDATE : It is sometimes difficult to buy yeast at the grocery stores. If you are stuck, without yeast, read to the bottom of this blog post, how to make your own yeast / sourdough starter !
Living life in the slow lane
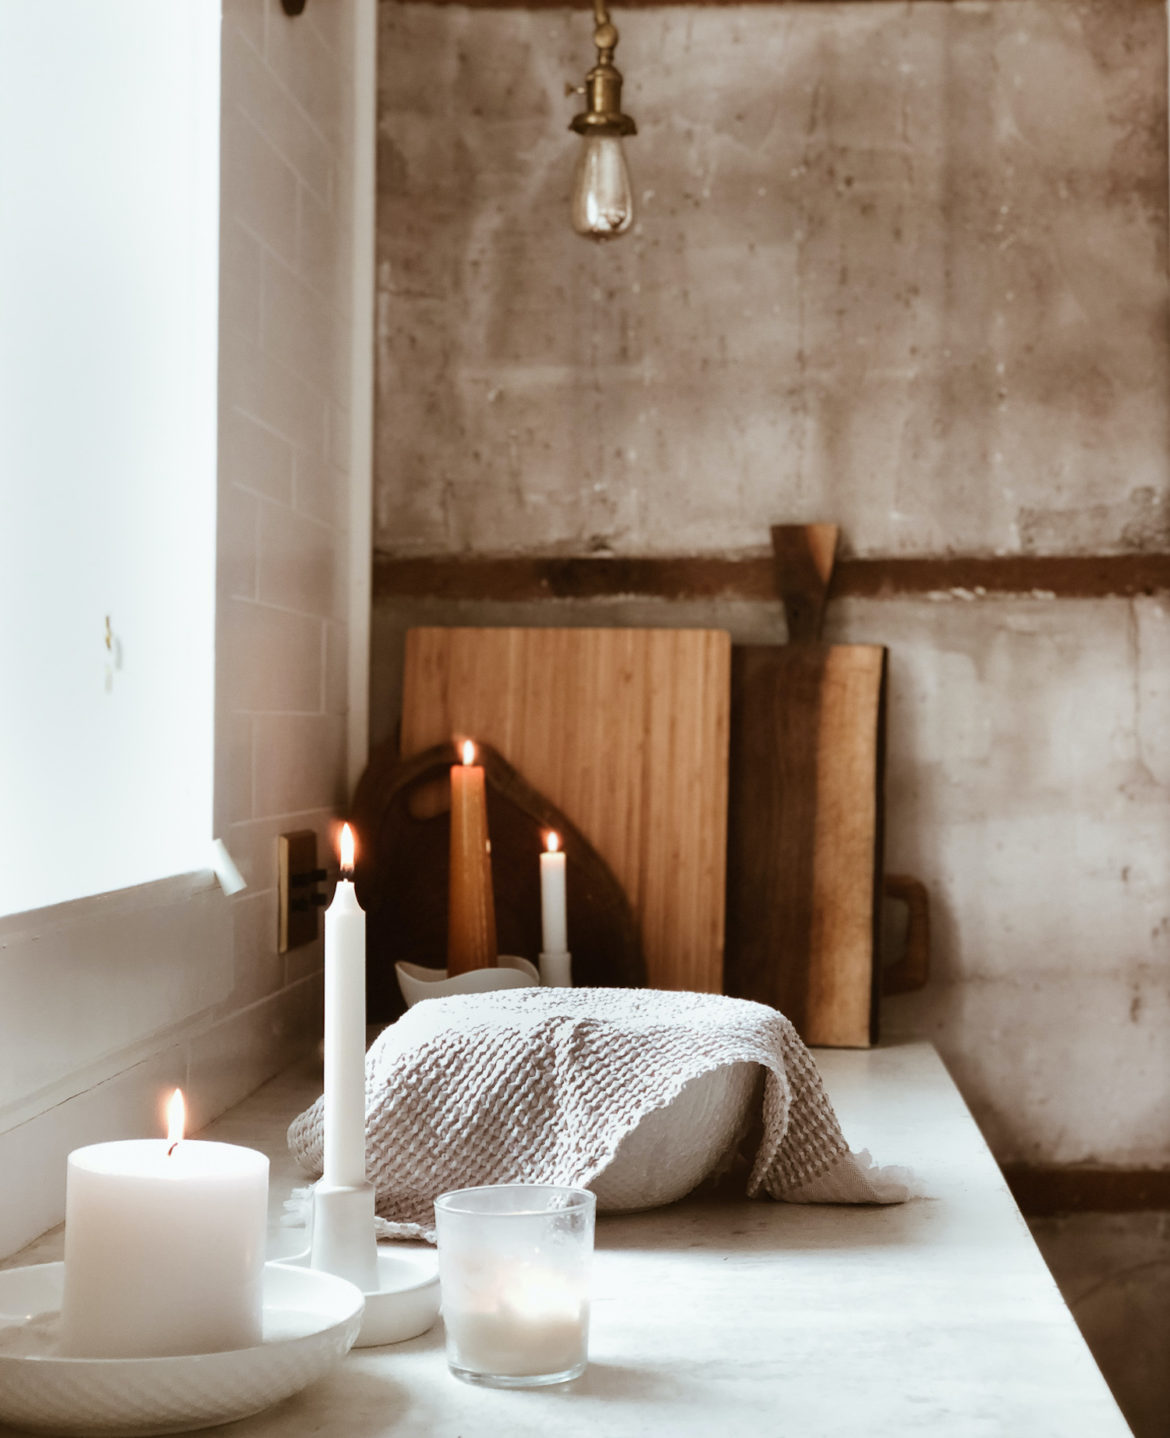
Baking bread just makes life feel good, doesn’t it? Homemade bread tastes like life at 10 years old… all delicious & nostalgia-like. It may sound strangely weird, but I find that if I have a tidy home, light my all time fave unscented candles (we burn them daily) and bake some bread … well… everything wrong just feels right again.
I truly believe that when you quiet your mind and clear your space …. everything changes. You think better. You feel better.
For as long as I can remember, I’ve always been inspired to live an unhurried life.
It is how I Design The Life I Want To Live <—See how I just threw those words in there? LOL.
Slowing down.
Appreciating the little things in life.
It’s where it’s at.
{ Bake bread. Be domestic, dammit. }
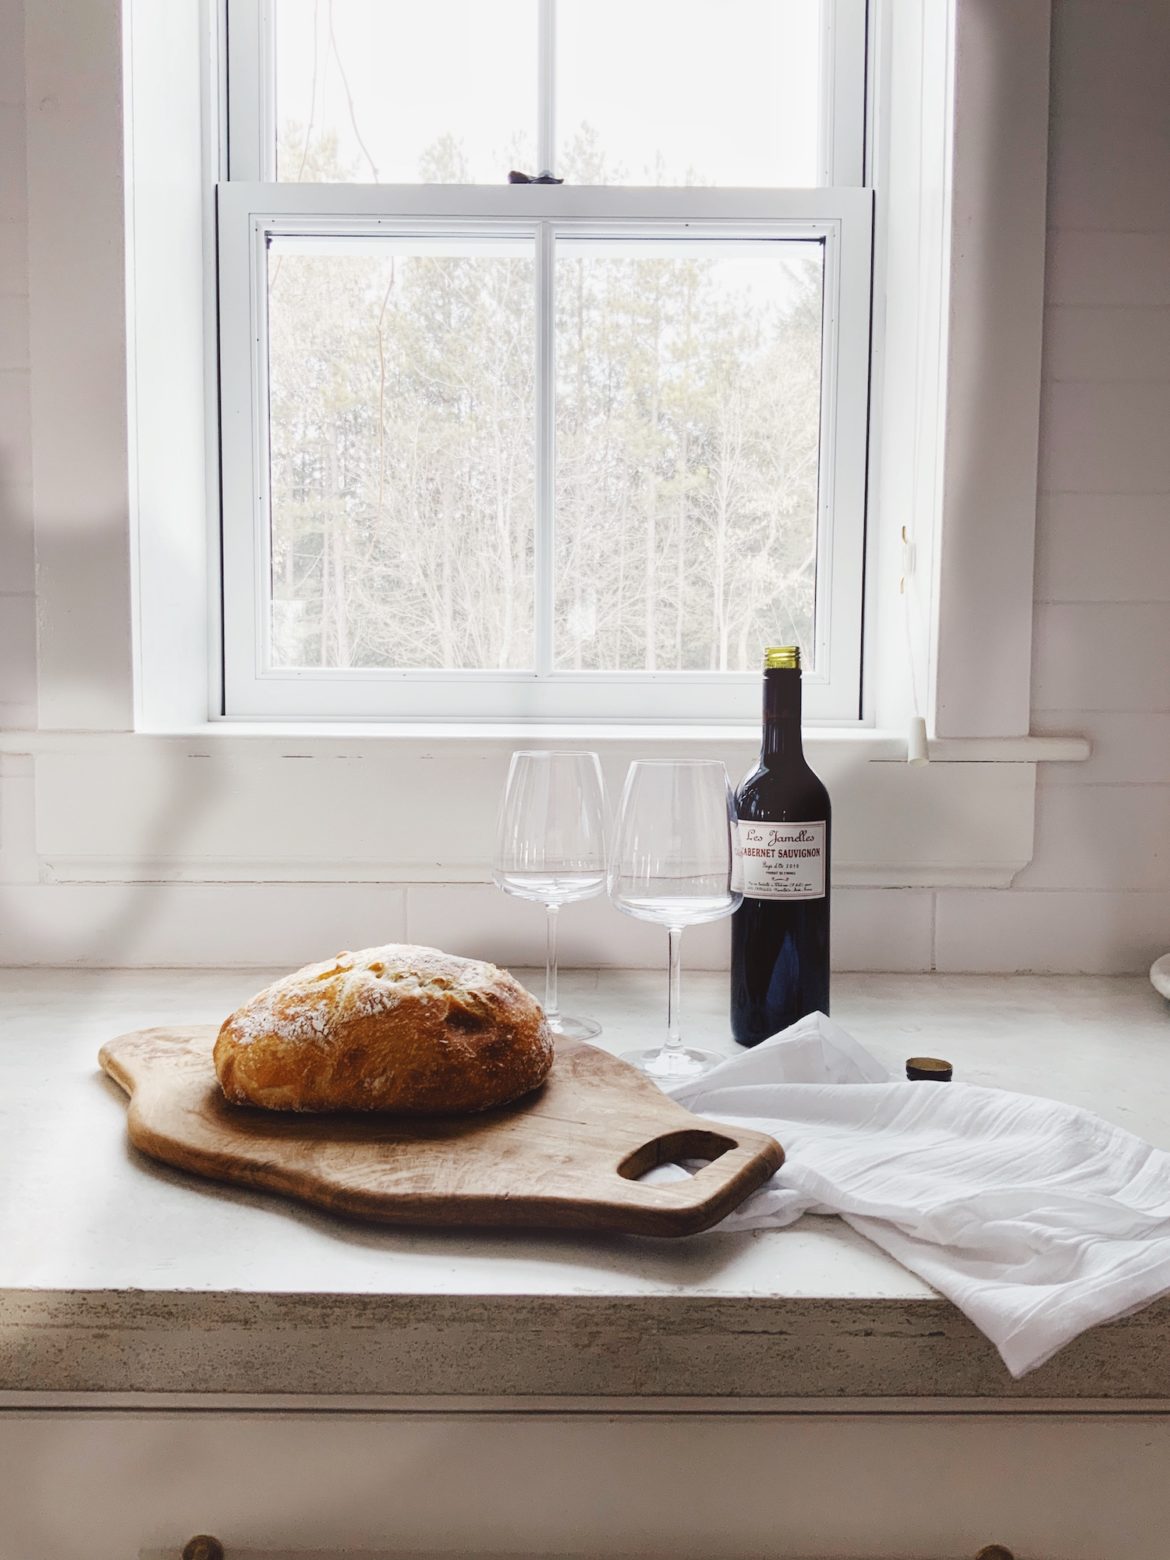
You could lock me in a room for forever with this bread. It’s that good. It’s fantastic with butter. and cheese. and olives. and wine. (times three)
I want it in my face right now.
Did you know that there are 4,738,990,845,790 gazillion trillion recipes on the internet, for homemade bread ? Don’t even think about fact checking this. I think the internet is down. It will also take you a lifetime to find the best ones. Not that I did that. I totally did that.
The point is, there’s only one good bread recipe. This is it.
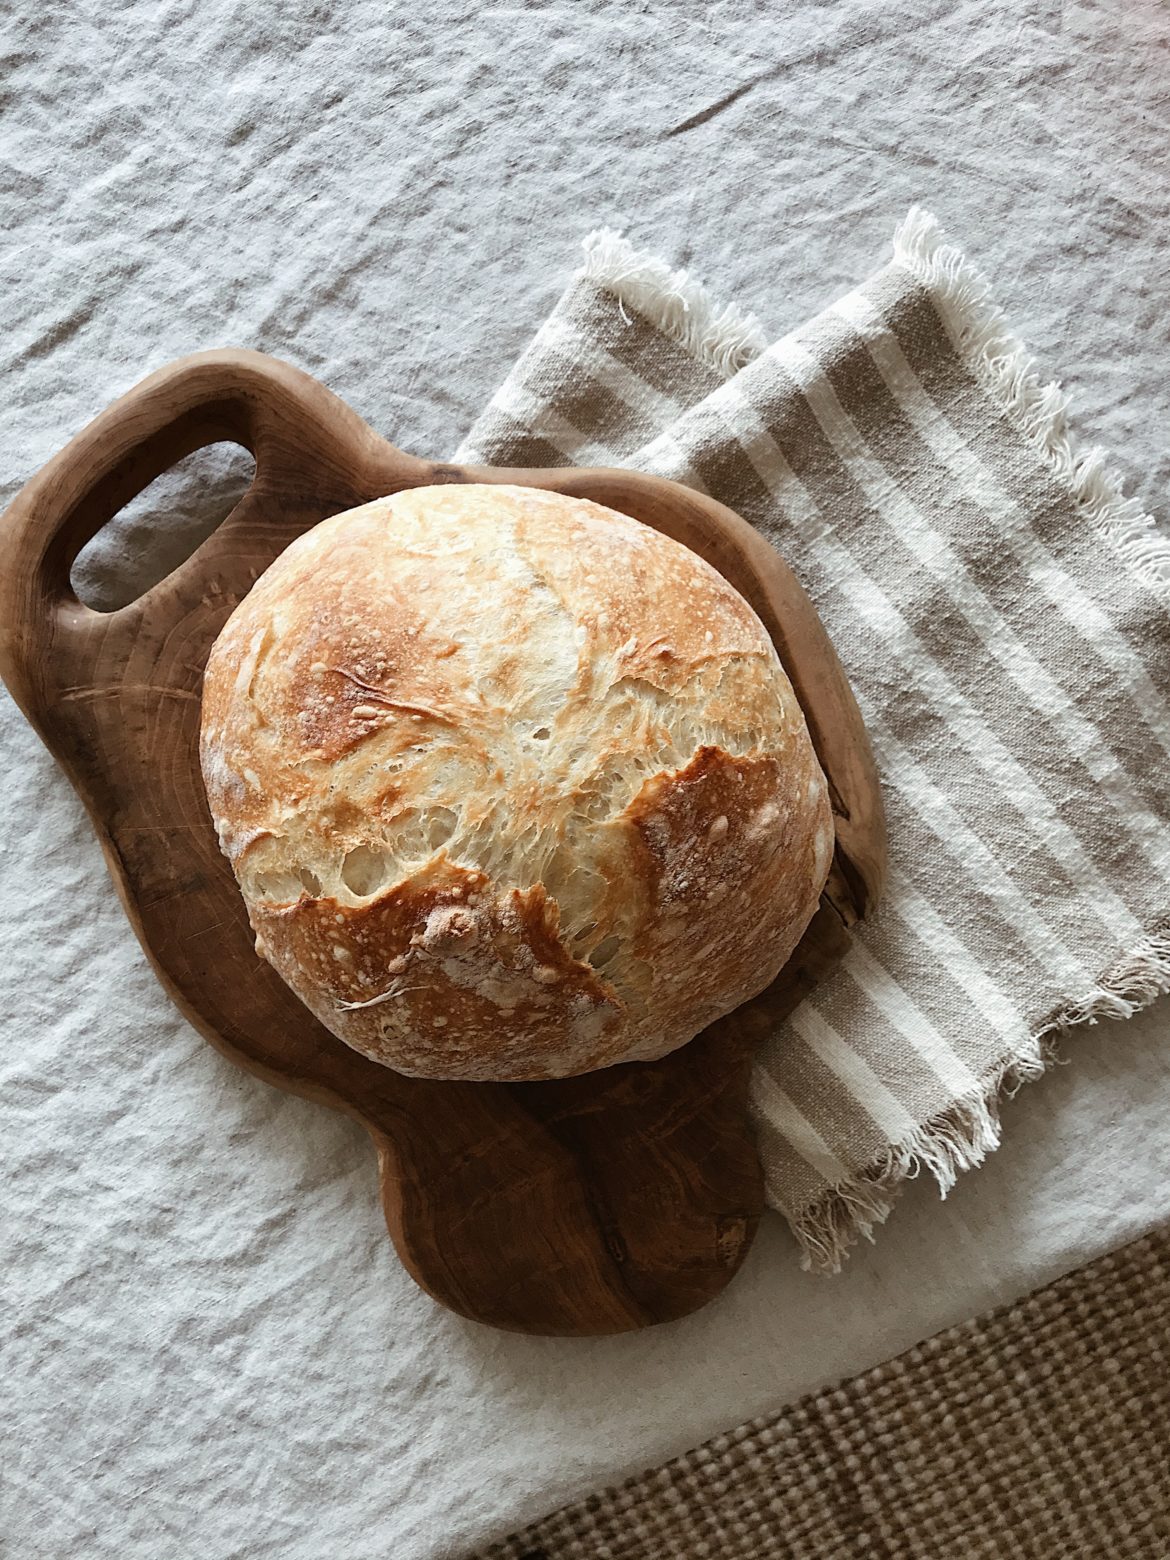

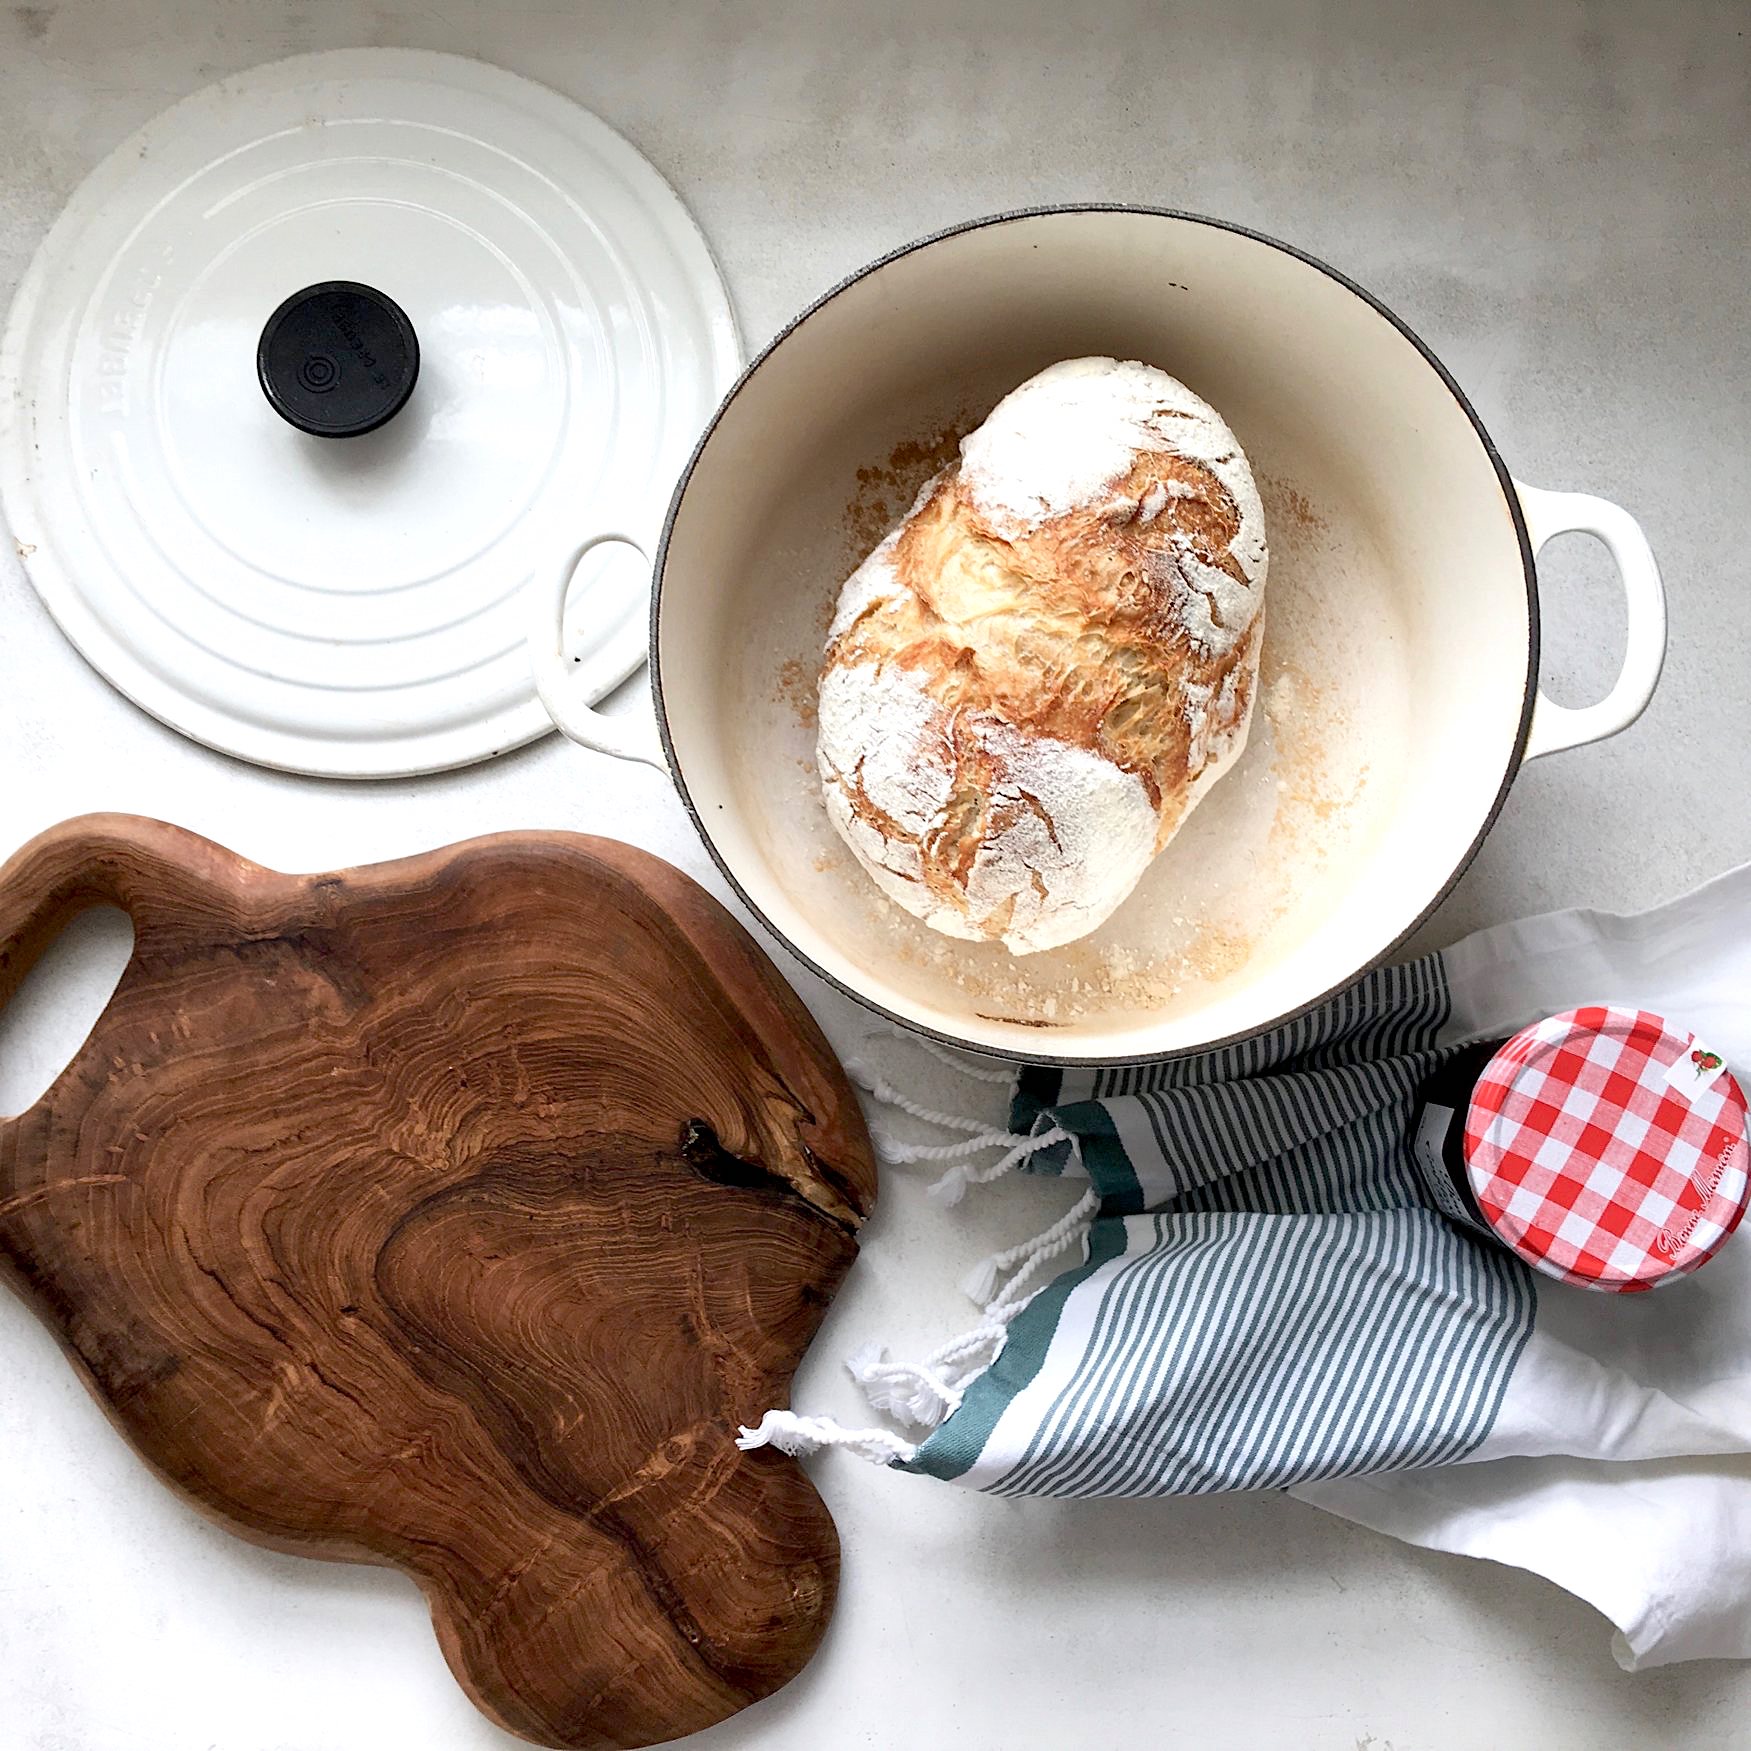
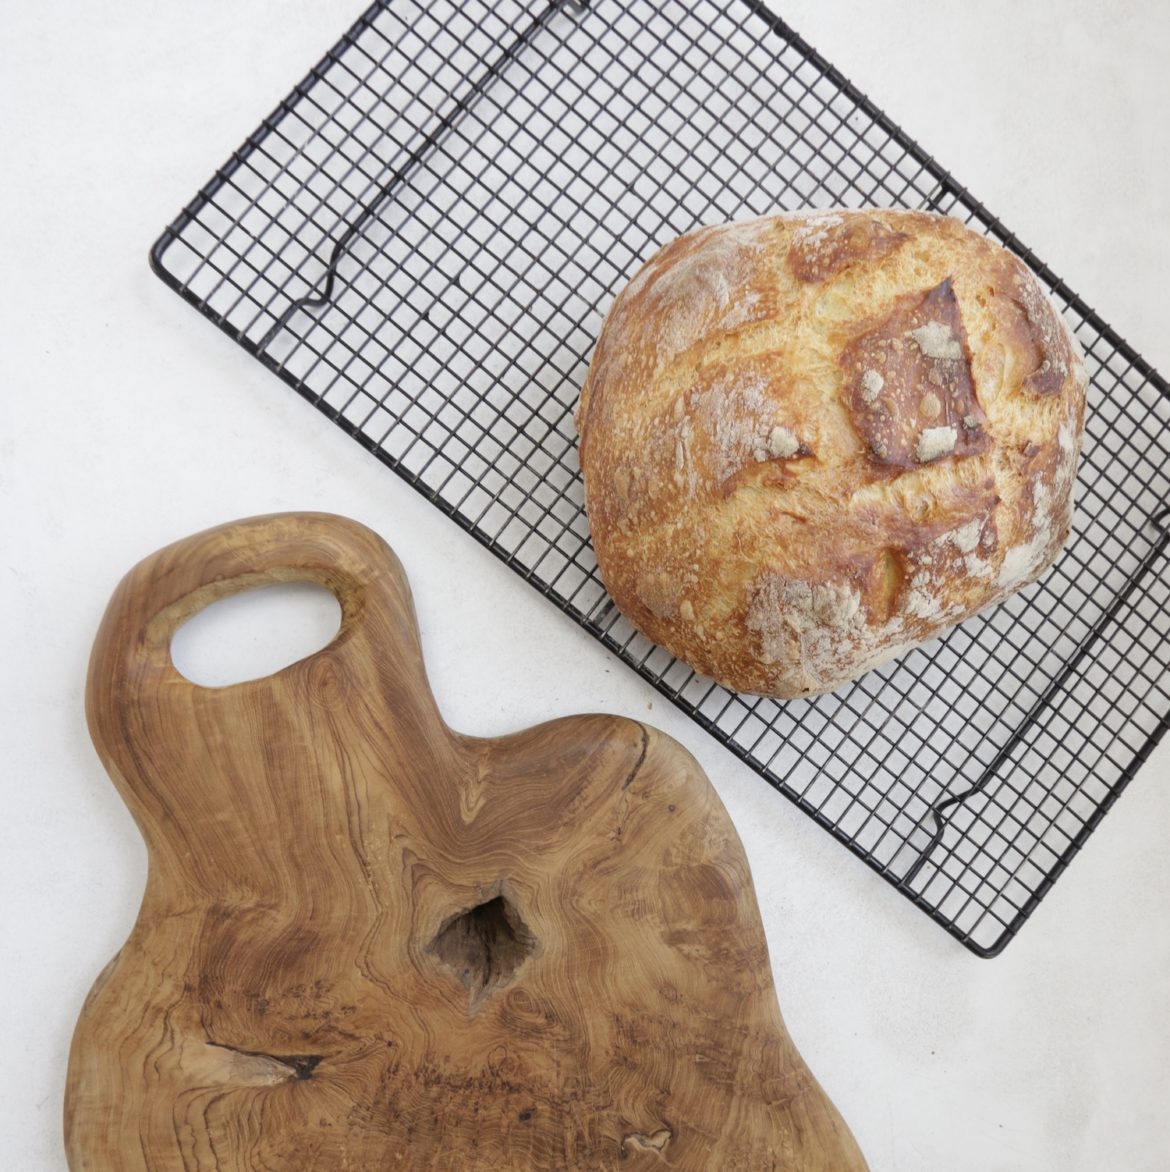
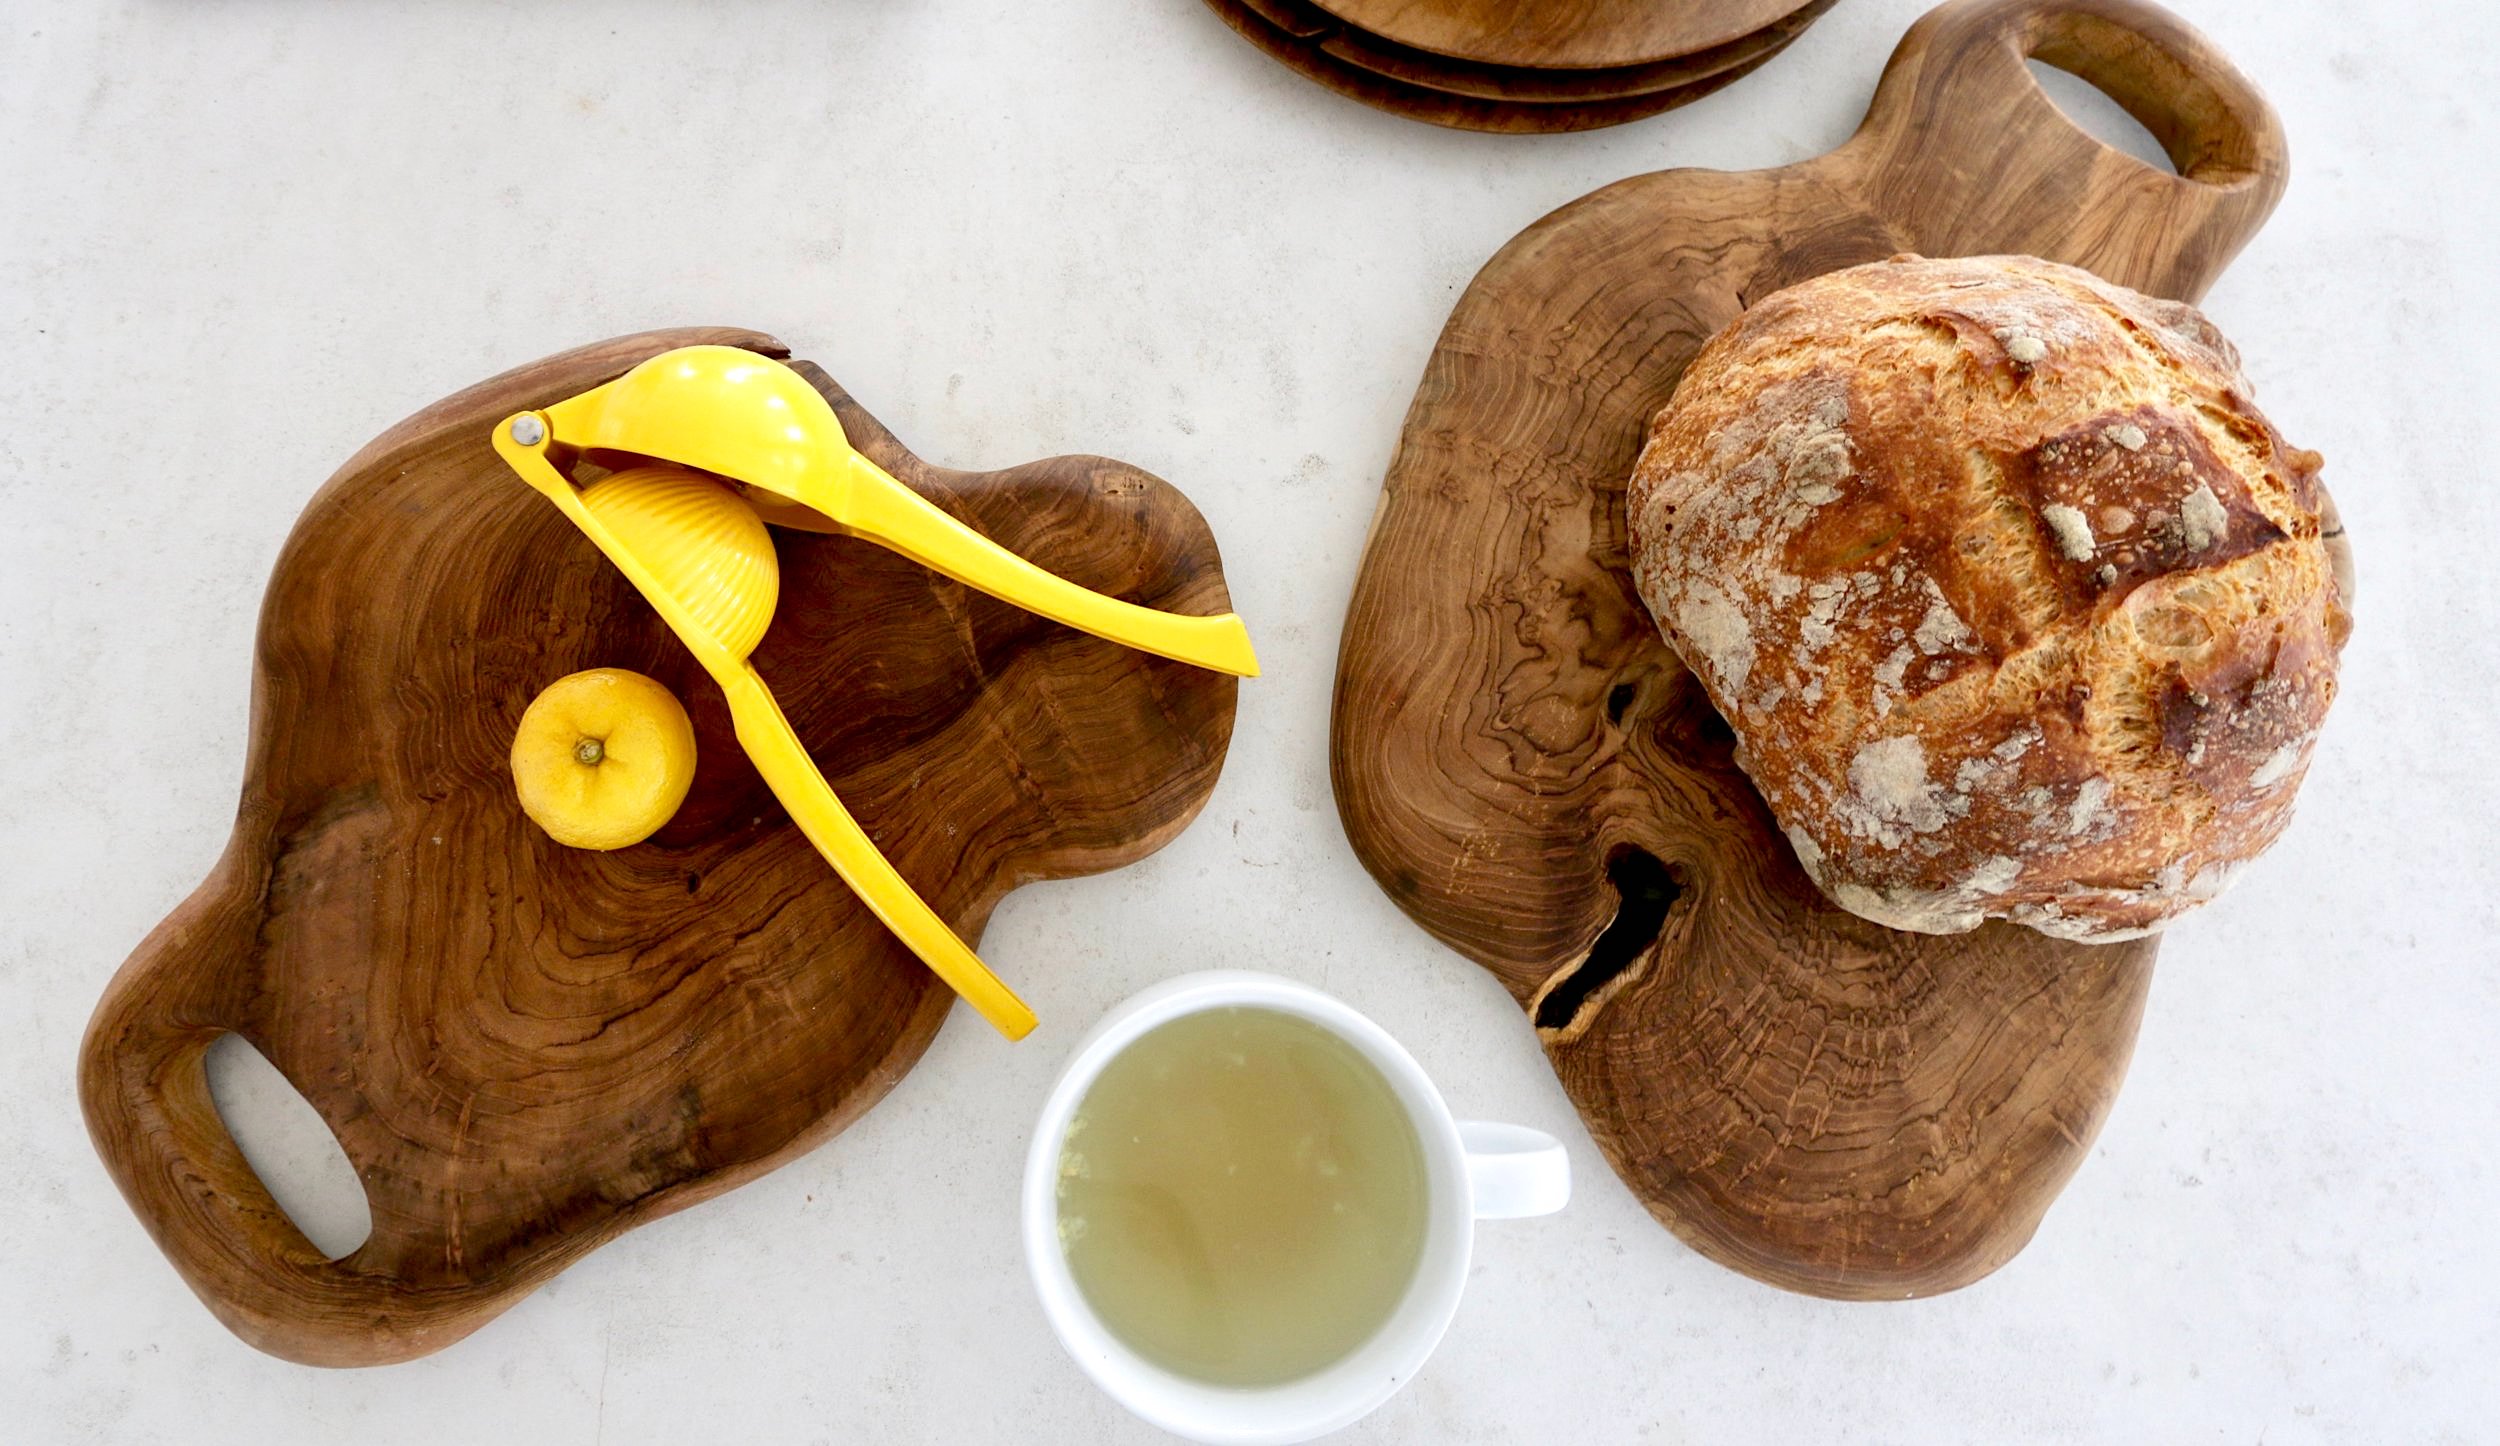
All my feelings are right up there ^^^^
On that cutting board. It’s theeeee easiest bread to make.
dutch oven faves
Cast iron, enamelled cookware is fab for this bread and Le Creuset does make some gorgeous ones. The problem is, I can’t afford Le Creuset for my homemade bread recipe.
If you can find Le Creuset on sale, or if you are independently wealthy with money trees in your backyard (in which case, you should invite me to your island home) … Le Creuset is ahhhhmazing.
I linked to alternative, more affordable cast iron enamelled dutch ovens here. They are sold on Wayfair, and the great thing right now is that Wayfair ships quite fast.
This one is even on sale!!!!!! <—- hOLA !! And it is Wayfair too.
This dutch oven is also a super reasonable price and it has over a thousand reviews. Wow!
Our friend recently bought this dutch oven in matte white, and she loves it. It’s affordable too!
I don’t know how else to describe this homemade bread recipe other than:
!!!!!OMG OMG OMG!!!!!
You’ll lose your marbles over it.
RECIPE
I N G R E D I E N T S
3 cups all purpose flour
We use organic unbleached all purpose, and it’s also easier to find these days. You can use whatever floats your boat.
2 tsp salt
¼ tsp rapid rise / instant yeast (tips listed at end of post)
1 ½ cup lukewarm water
PS. Need a whole wheat alternative?….Substitute whole wheat flour for up to 2 cups of the all-purpose flour. The recipe would therefore have 2 cups of whole wheat flour and one cup of all purpose flour.
Enter your email in the form below and the ingredient details, instructions and baking tips will be emailed directly to your inbox as a printable recipe card.
Easily print the recipe card on your home printer, or save it in a bookmarked file.
* This signs you up for our amazzzzinng (infrequent and fun!) newsletter. If you opt out and unsubscribe, I promise I won’t toilet paper your house.
PS. The recipe card should be emailed to you within 5 minutes. Don’t see it in your inbox? Take a peek in your spam folder. Email robots are cunning sons of guns who like to squander away high-roller info into your junk mail. Still no luck? Add lynne@lynneknowlton.com to your contact list or email us directly. We got you. x
Now for the bad news. If you eat too much of this no-knead french bread, you may end up with a permanent life preserver draped like a fat hula hoop around your hips. These are my first world bread problems. My struggles are real.
T I P S
Don’t take shortcuts. They take too long.
{ Except this time. I have a couple of bread making short cuts. }
First, go check the recipe card in your inbox.
I’ve added a few extra details below to make it even easier for you.
This recipe is super simple to make.
It’s literally fool proof, and requires no kneading, or crazy bakery skills.
You got this. Here’s how…
1.
Tea towel : Sometimes I skip the whole wrapping it in a flour-y tea towel bit. Rather than put the ball of dough in a couple of tea towels, I literally just put the ball of dough back in the bowl and cover the bowl with saran wrap and /or a tea towel . Easy. Sneezy. Lemon. Breezy.
2.
Tight sealed lid : Do not take a short cut on the tight sealed lid / dutch oven thannnng when baking. It needs to be something with a tight sealing lid <— I screamed that. And preferably a cast iron enamelled pot, because they hold the heat beautifully and are heavy duty thick (less likely for your bread base to burn as well.) Be sure to buy a pot where the lid can also be heated up in a 450 degree oven annnnnnd don’t forget that you need to heat that dutch oven in the stove while it’s preheating for the bread. Remember. Cast Iron and/or tight sealed lid. Supes important. I bought this one recently when it was on sale. (cutest lid ever). This cast iron enamelware dutch oven has FANTASTIC reviews. I have the most luck, making this bread, when I use a cast iron enamelware dutch oven.
Note to self: If you accidentally touch your pot without oven mitts on…. ooooooooooooouch….life is ruined. Time to call a hawt firefighter.
3.
Dutch oven size : I believe the 4.3 quart dutch oven is the smallest you could go when making this bread…. I cheat and use one that is quite big. We use it for casseroles and other family meals too. I already stole owned the larger sized dutch oven, so I just went with it. My dutch oven is the size of Australia. Here’s the thing…. you can use it for all kinds of other meals too. So, for the win. In this case, size doesn’t matter 🙂
4.
Small loaf : All of that was the long way of saying, this recipe makes a small loaf of bread, not a massive one…. and it’s basically PERFECT. And it’s easy to do. And it will be the best bread you’ve ever eaten. And it will change your life.
You’ll squeal like a tool when the bread pops outta the oven. Here’s another hot tip. When the bread is done cooking, rather than take it out of the oven right away…. just turn off the oven…. leave the door cracked open a bit… and let it cool down inside the oven for about 20 minutes or so. It really makes for a nice crisp outer crust.
I double dawg dare you to see how long you can wait before you want to put it in your face. PS. Wait a minimum of one hour for the bread to cool, before slicing. Dare.
5.
Tips: I use a wooden spoon to mix. It just works best. I also like to use a ceramic bowl for mixing, as the plastic wrap sticks nicely to the bowl, and you can get a nice tight seal for when the bread sits overnight in the bowl. I have tried stainless steel bowls but it’s no-bueno for me.
6.
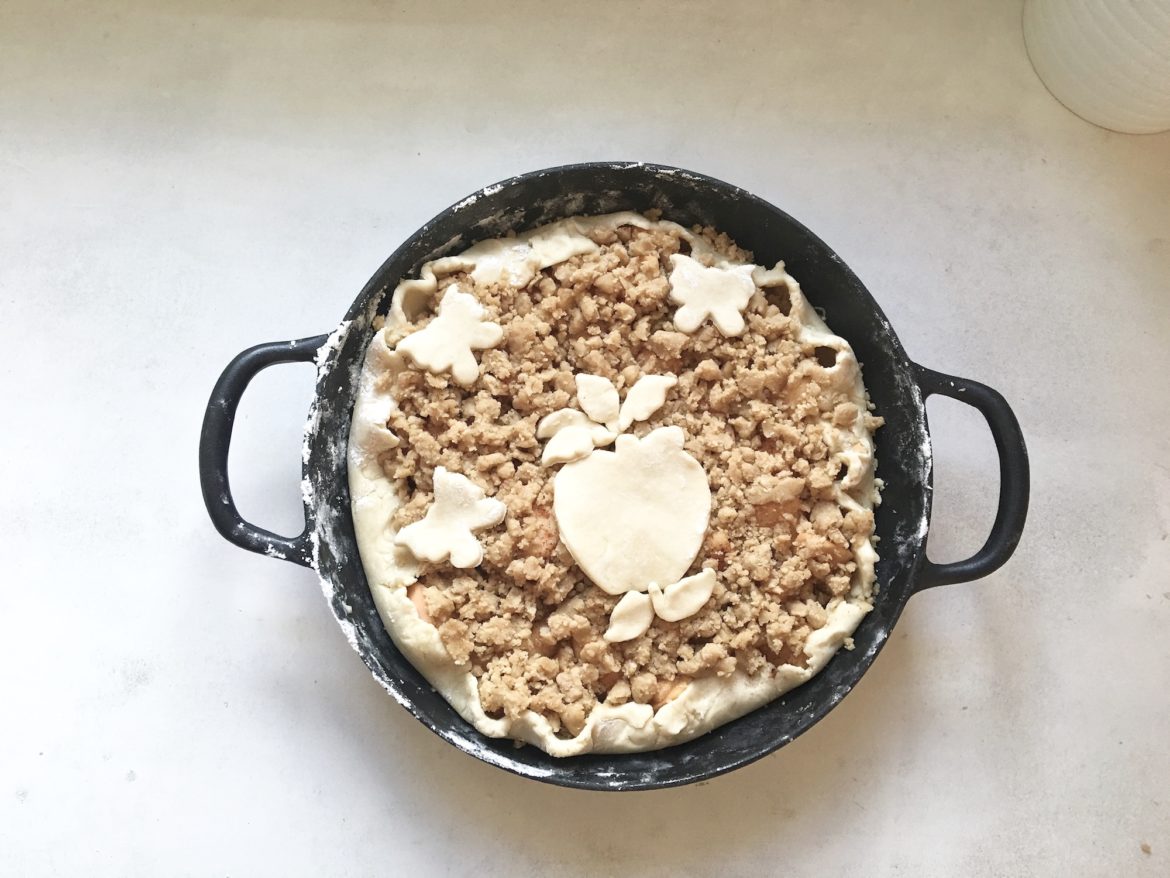
I cut a little hashtag in the top of the loaf right before I pop it into the oven. I score it pretty deep, and wowsers. Nice!! It looks pretty and the bread bakes with a big crevice at the top. My fave! Here’s the thing. Scoring your bread is actually really important. Give it a strong score with a super sharp knife, right along the top, so the bread has a place to ‘break open/ release steam’ as it is baking. SCORE.
7.
For washing the bowl, let is soak in some hot soapy water. Clean it with your bare hands, as the dough is super sticky on cloths, sponges, all the things. The easiest clean is straight up with your nak’d hands.
8.
Storage: That is a tricky one. We basically never have any left over, because it is THAT GOOD. If by some crazy chance we have leftover bread, I use plastic wrap on the cut edge only, and wrap the loaf in parchment paper or wax paper. We also use a bread box. I dunno if it really works, but I like it. I’m a weirdo like that.
9.
Instant or Active yeast : It may be difficult for some to find instant-rise yeast these days. GAH, right? The good news is, you can use active dry yeast if you don’t have any instant yeast. The difference between instant and active dry is, active dry yeast has a larger granule and needs to be dissolved in water before being able to use it. Instant yeast has a more fine texture and can be mixed right into dry ingredients with no pre dissolve required. Dissolving the yeast in the water only takes an extra minute or two, and is totally do-able.
Best tips for working with yeast
How to check if your yeast is fresh : If you suspect that your yeast may be a little old, there’s an easy way to make sure it’s still active. Measure out the liquid (room temperature or lukewarm!) for the bread recipe and pour about a half-cup of it into a bowl. Sprinkle the yeast and a pinch of sugar over the top, give it a stir, and let it sit for a few minutes. If the yeast is still active, it will dissolve completely into the water and the liquid will start bubbling.
Keep Rising Dough Warm: Yeast works best at temperatures between 70°F to 80°F. If your house is cool, place the bowl somewhere warm. If your house is very warm, the dough may rise quicker than expected.
Store Unused Yeast in the Freezer: Freezing yeast will put it on pause and extend its active lifespan. Seal the yeast in an airtight container before freezing.
NOTE : if your bread does not rise, it is likely because your yeast is not fresh. Remember to store the packets in the freezer for next time. Another culprit could be your flour.
Just remember, yeast is a living thing. There are conditions that help it thrive and conditions that slow it down. Treat it kindly and make it comfy, and you’ll be turning out beautiful no-knead French bread, no problemo.
starter
With COVID, it has become increasingly difficult to buy commercially prepared yeast. Almost impossible, Am.I.Right?!. GAH!
Here’s the good news! You can make your own starter/yeast. It is called a sourdough starter. Yes, initially the process of the first week of making the starter will take longer, but it takes minutes a day… and then you will be able to make bread for the rest of forever. It is a beautifully tasty bread too.
I be lovin’ it.
I found, as I started the journey of learning how to make the sourdough starter, that I didn’t like all the waste of throwing away the starter as it grew. I also failed about 438597 starter recipes. Then, I found Bake with Jack. Here is his super easy recipe for starter, and with no waste!
The secret to a successful starter is to keep it in a nice warm place. And to not give up. Feed it every day. The bread is DIVINE. And I have a no-knead bread recipe coming soon // made with starter. Get started 🙂
Hawt tip: Having a scale realllllly made a difference for me. My food scale is super old, but I found this one with thousands of positive reviews. There are some here too that look pretty great, affordable and all have the tare function. The one thing to look for when buying a scale is the tare function. The tare function resets the scale to zero and automatically subtracts the weight of a bowl or jar from your measurement. So basically, you can view the exact weight of your starter without worrying about the math. Oh thank gawd.
Follow along on our journey on Instagram. We can do this together! Check back to this blog post again soon, as I hope to adapt our recipe to making it with a sourdough starter.
Big love and happy baking !!
PS. SHOP OUR BREAD MAKING FAVES below…

Also, how much bread is “too much bread?” Asking for a friend, who’s considering weight watchers.
Tell us your baking stories!
{ We need these details to thrive in life }
What should I bake next? <— I happy hollered that.
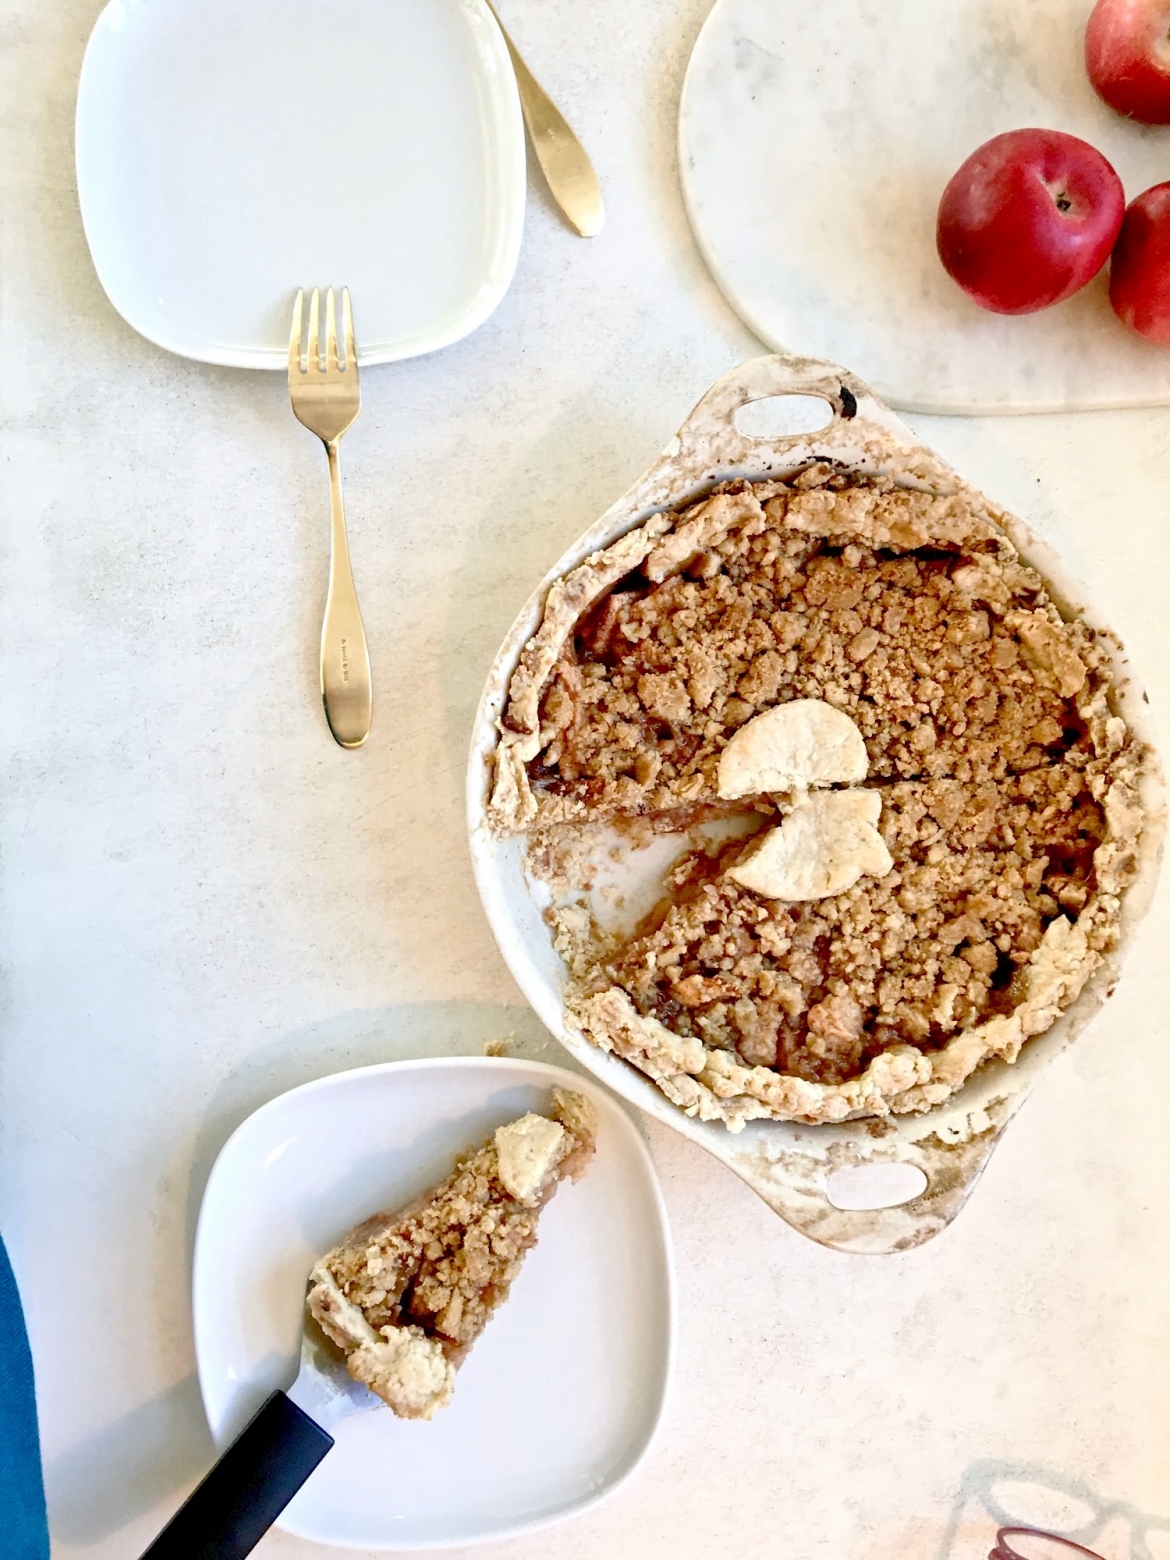
This apple crumble recipe? Brownies? Cookies? Banana Bread?
What is your fave recipe evarrrr????!!!!
