How to Make Grapevine Balls
I wish I could dream up a better NAME
Other than
BALLS.
I can create them, hang them, make them look pretty with lights, but I can’t dream up a REAL name for them yet. I can’t name a grapevine ball to save my life.
I am stumped. I need a name that doesn’t make me *smirk*. Any ideas?
So far, it’s balls.
*Snicker
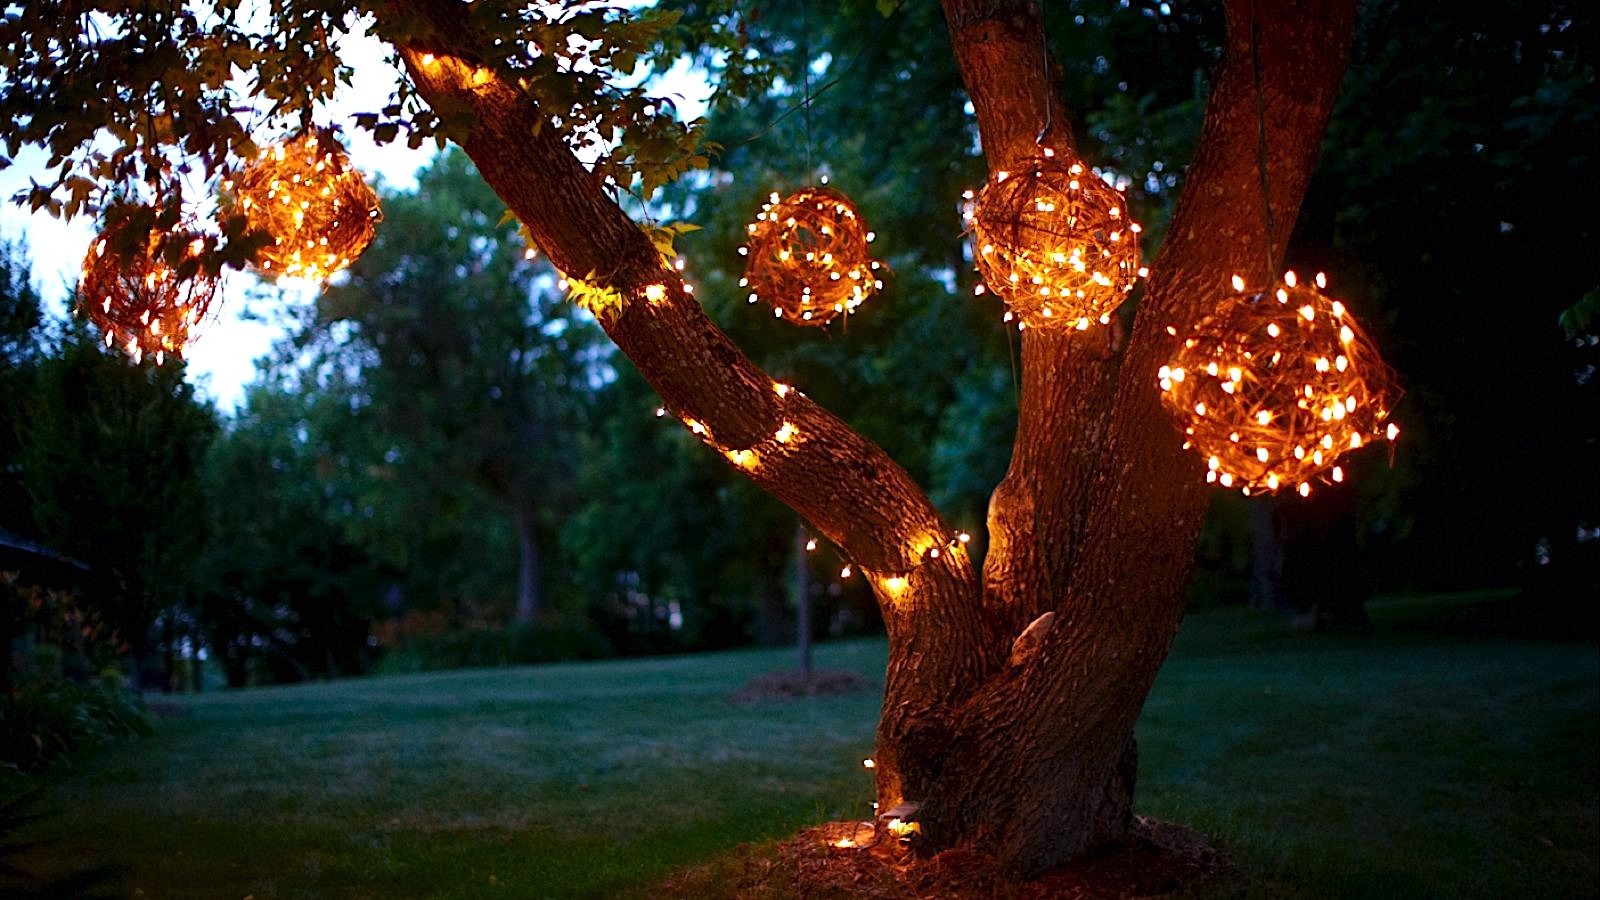
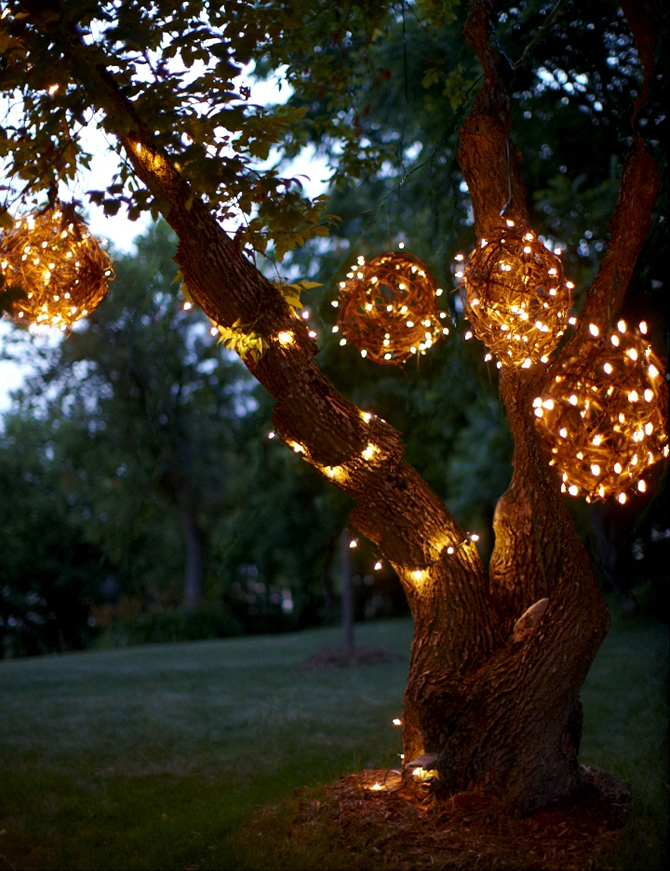
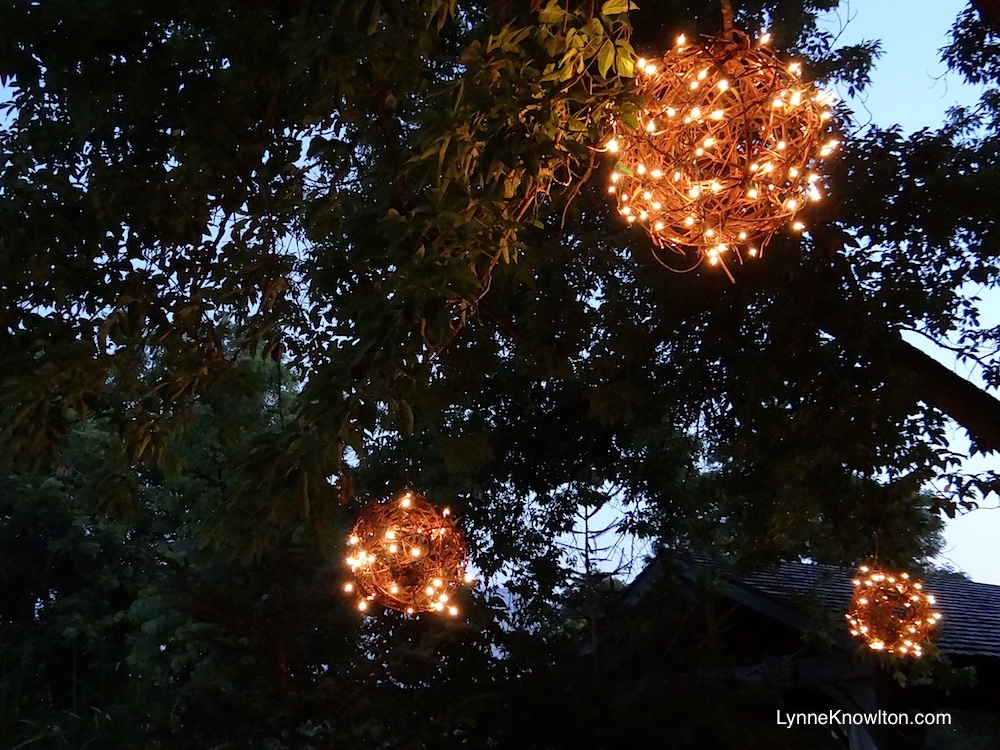
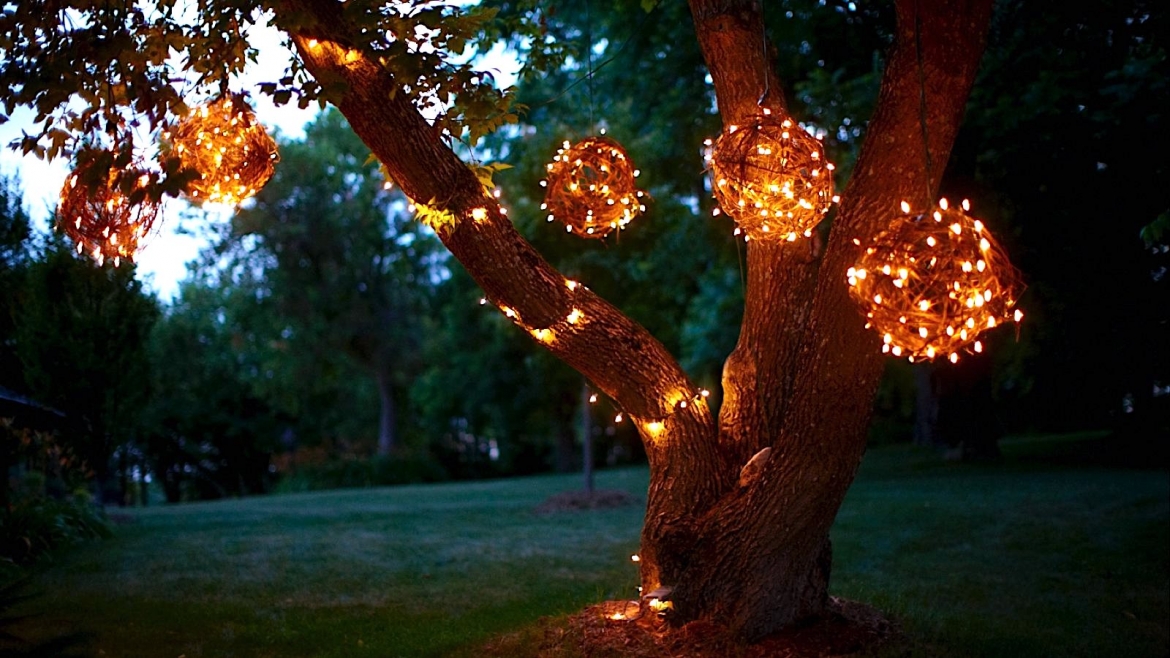
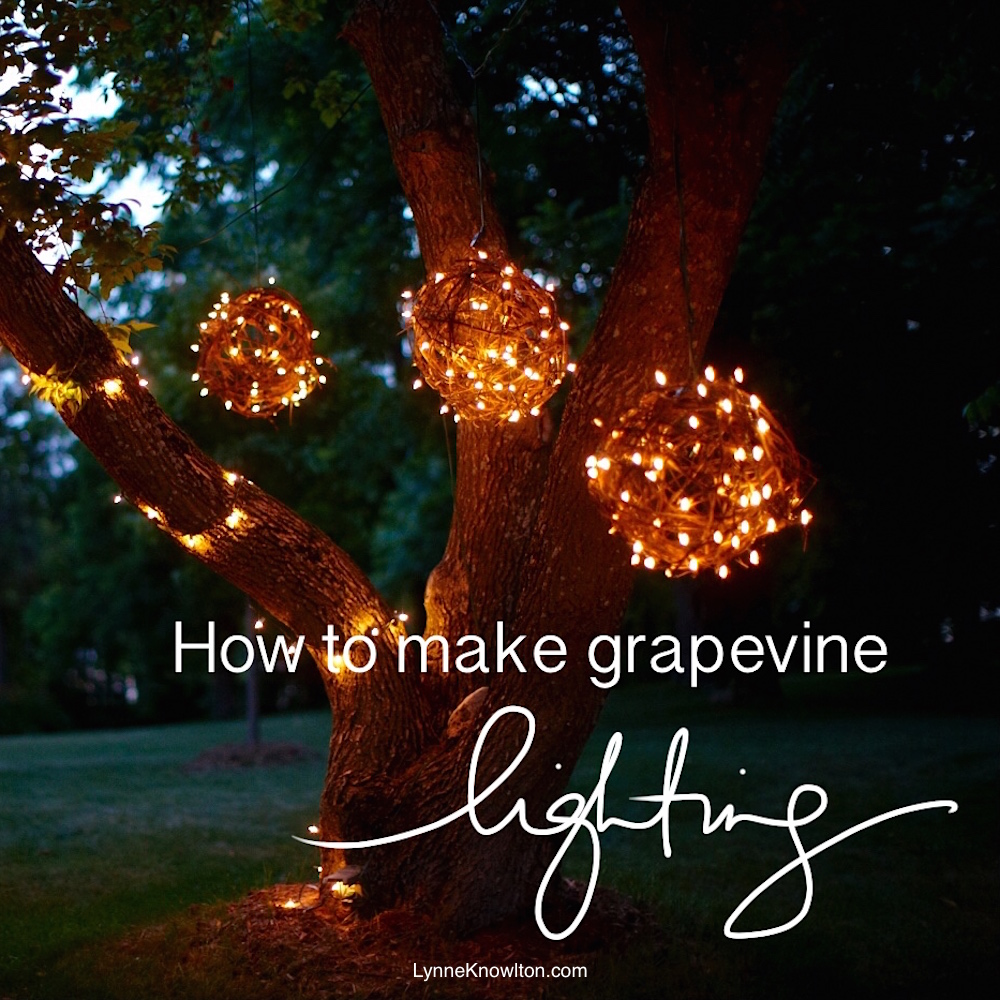
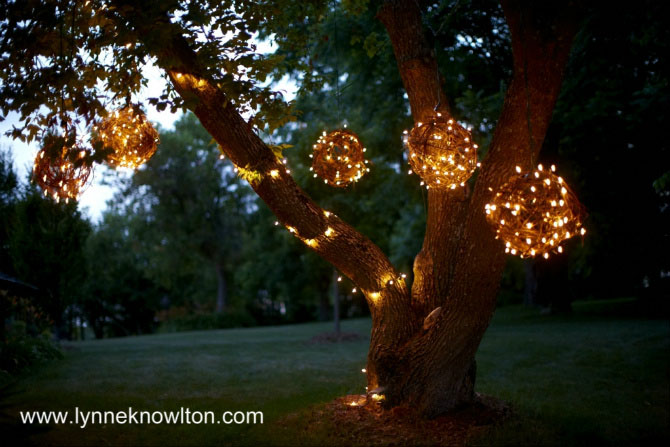
These little crazed balls may not look like much as you create them, but they are stunners when they are lit at night. They also look FAB in the garden. They are organic in nature, so they can definitely take some wind, rain, snow abuse.
WHAT YOU NEED :
Grapevine.
See? Easy. Need help finding grapevine? If you are Canadian, it’s everywhere. Like. Everywhere. It is like a wild weed.
What if you don’t have grapevine??! Yikes.
BUY a grapevine wreath and take it apart. The grapevine wreath already has the ’round’ shape. Woot. Woot. Unwrap the wreath and voila you have the grapevine supplies to make a ball.
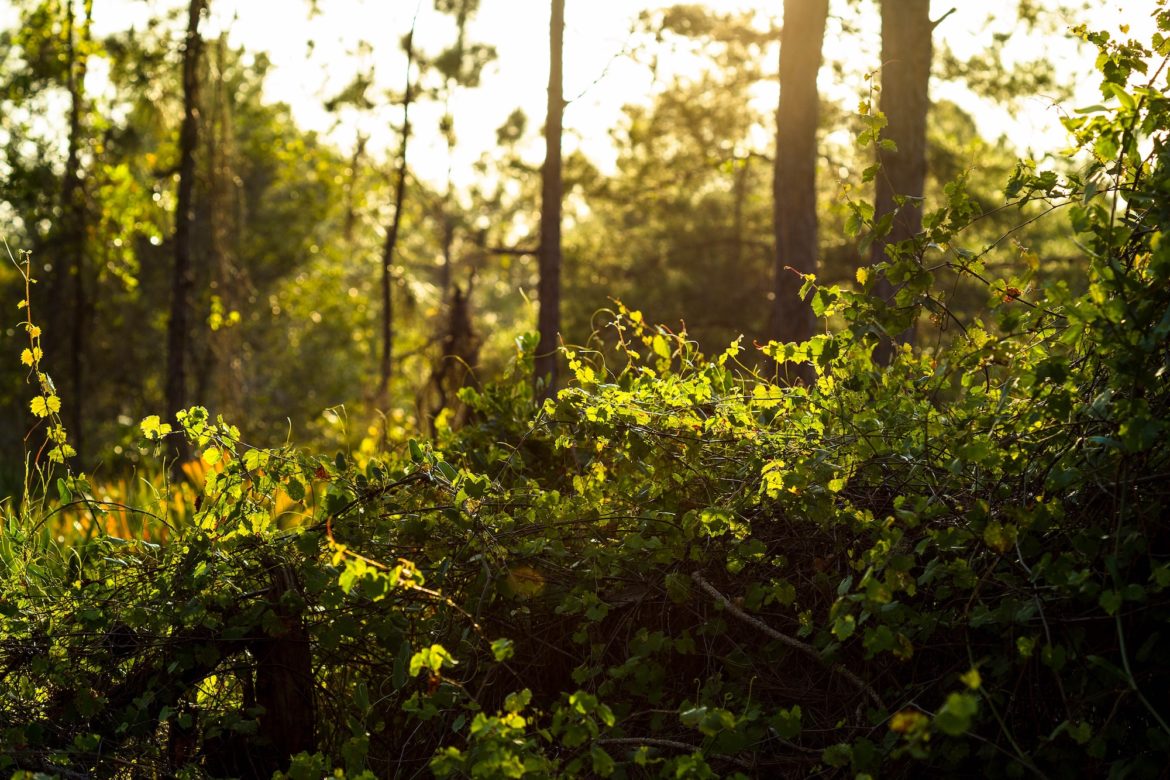
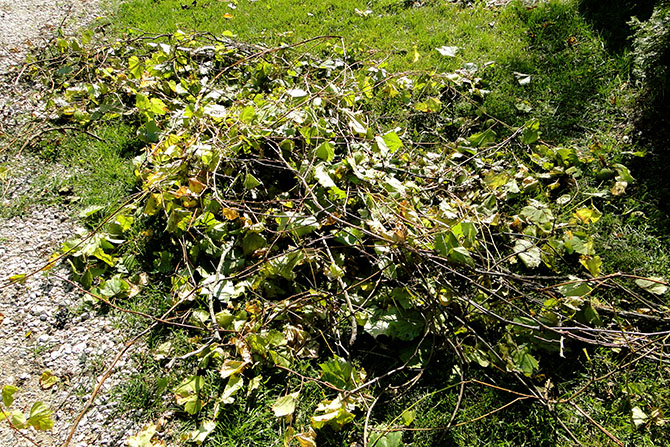
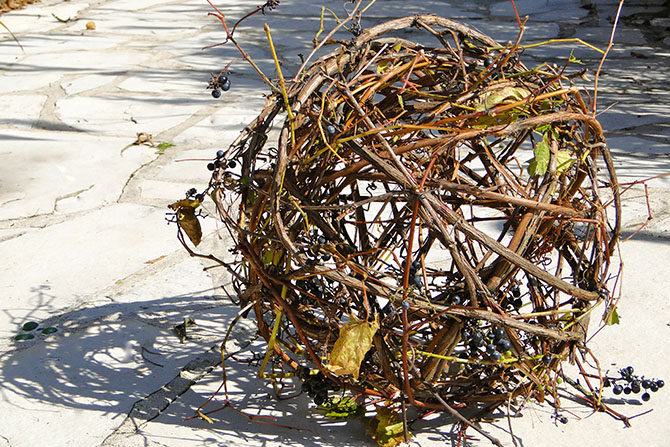
Here is what grapevine looks like :
It’s presently taking over my barn. My fields. My tree line. My life. Grapevine rolls like that.
Bad ass.
I have an abundance of grapevine and needed to make balls. Don’t judge. I’m a designer. My skills are sometimes limited to wine drinking and grapevine wrestling.
Funny how those skills go so well together.
If you are not near grapevine, don’t fret. Plan B.
You can make
WIRE BALLS
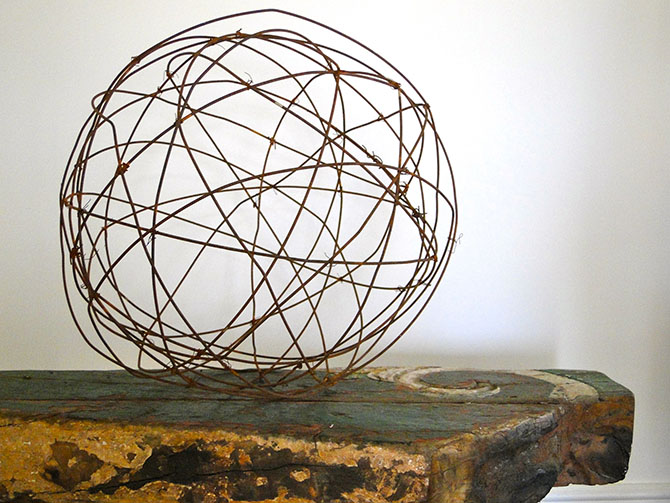
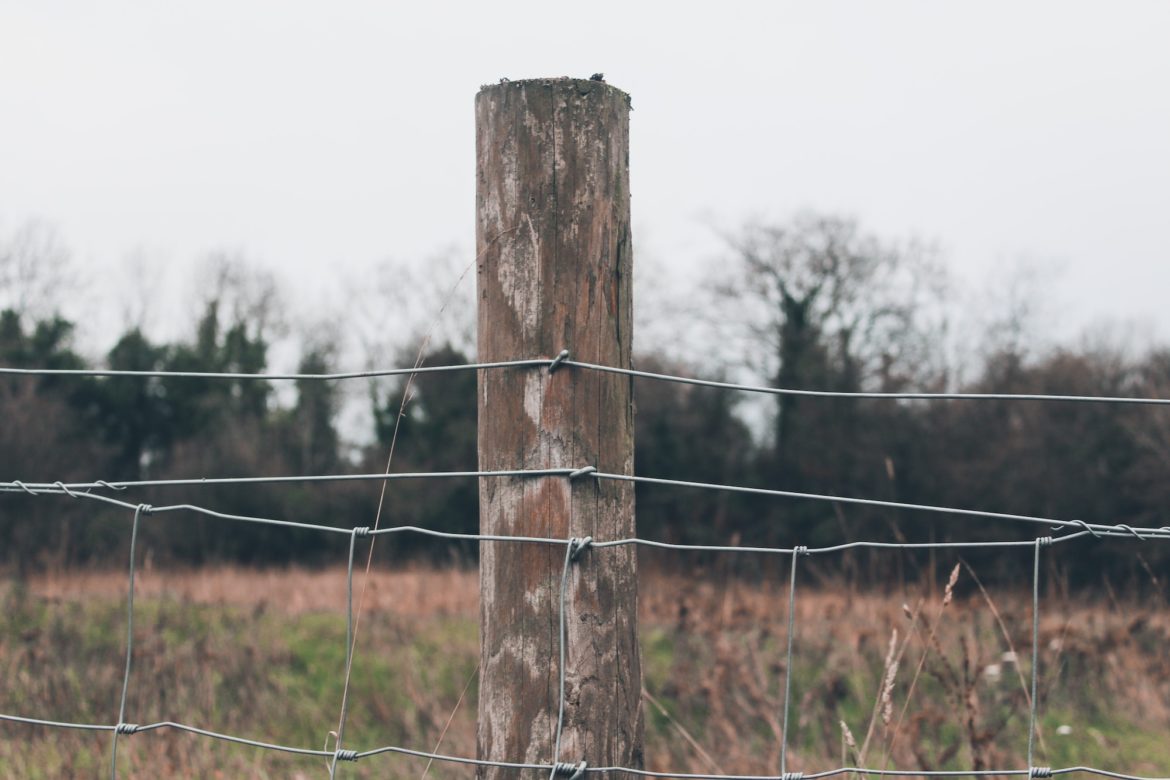
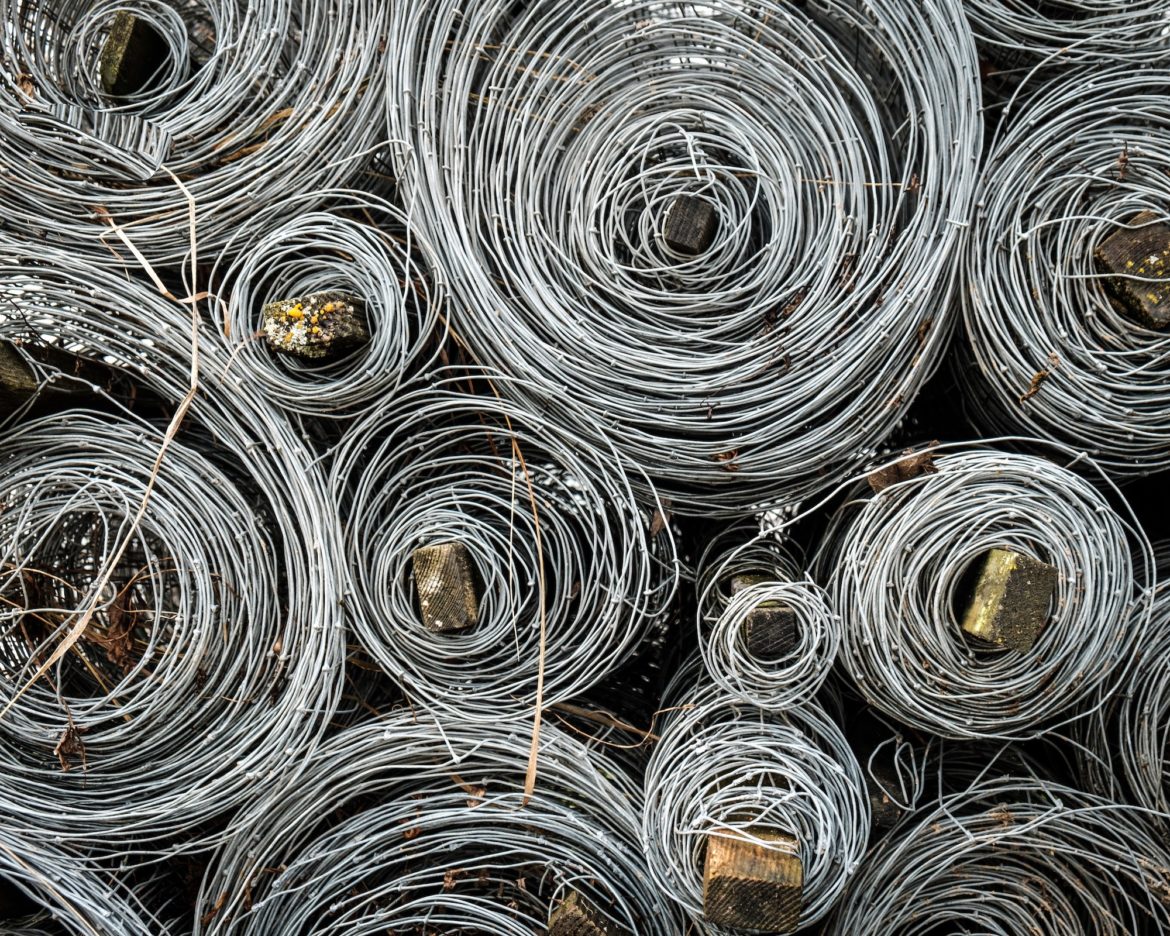
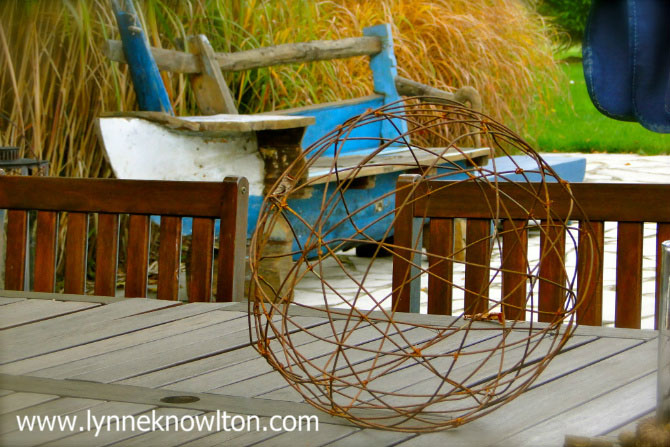
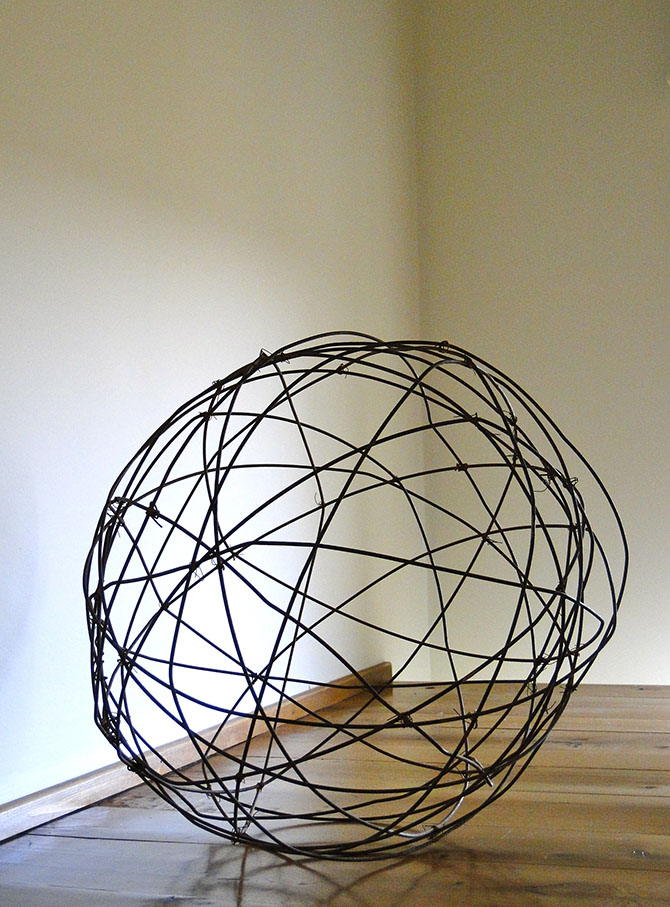
Yup. Genius name, isn’t it? Wire Balls. You can use these for lighting or home decor. It’s easy to do, I pinkie swear it. BOOM. Amazing. We made ours from this fencing wire from the hardware store.
Back to balls..
SUPPLIES for Grapevine lighting balls:
1.
Grapevine. You can go foraging for it, or buy it as a ready made wreath, take the wreath apart and make your own grapevine ball from there.
2.
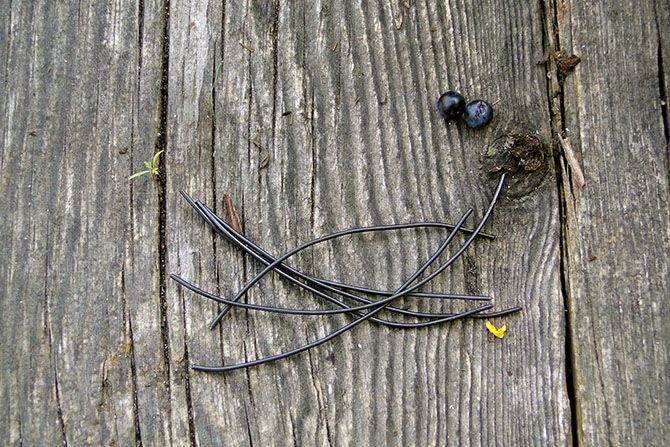
Floral wire
Cut this floral wire into small pre-cut pieces. I usually cut about 30 pre-cut pieces. This wire will be used to secure the grapevine together as you are wrapping the beach ball. Pick a floral wire gauge like what you see in the photographs below. I didn’t pay attention to what gauge I used. There are no rules.
We are here for good times, peeps.
3.
A nice pair of wire cutters to cut through your fencing wire and floral wire. The ones I have linked to are very affordable.
4.
A definite necessity : Beach balls. Buy varying sizes of balls (there I go with that ball word again). Immature. I am. Make sure you buy the kind of beach balls that you can deflate. You can also buy a variety of sizes so that you will have a variety of finished sizes of grapevine balls.
Why buy a deflatable beach ball ? a) You can play with it later b) If you can’t deflate the ball, you will need to beat the heck out of it, to remove it from your grapevine. Trust me on this one. Buy a deflatable ball. No need to murder a beach ball. No balls need to die in this experiment.
5.
Ohhh we have to have some twinkle lights, fooooshur.
You know the kind. Little wee white lights, with a dark wire. Bonus: I found this set with a dark wire. Holy batman.
How do you spell PERFECT?! <- I SCREAMED THAT.
You’ll need string lights with about 50 little twinkle lights per strand, and be sure to get a dark green or black wire on those lights. The white electrical cord may look stupid. HMmm. I retract that statement. If you spray paint your grapevine balls white, that could look super funky. I might need to try white version 101 next. White grapevine balls with white mini lights. I LOVE WHITE. I have a problem.
Enough about my problems.
Let’s get crackin’ on those balls.
*snicker*
6.
Chain, twine, rope &/or extension cord to hang the balls from the trees. You will not need this chain or rope if you are placing the grapevine balls on the ground, in the garden. Ambiance. Less Work. Awesome.
HOW TO MAKE GRAPEVINE LIGHTING BALLS
1.
Gather up your grapevine and strip it of the grapes and leaves. Make your grapevine buck-naked. This is not a glamorous job (even though the buck-naked part might sound glamorous.) Wear gloves. Do not get a manicure the day before. Been there. Done that. Got the dumb girl poster.
Grapevine looks like this (which is technically pretty gross looking at this stage. GAH) In my head, I was imagining it to look like the photo on the right, but in reality, the photo on the left is the real deal.
Pick the grapevine while it is still growing, soft, and pliable. If you let it dry out, the grapevine will crack and be too dry to work with. It can be done, but only if you want to do things the hard way. I like the easy route, myself. Easy. Floozy. Yup.
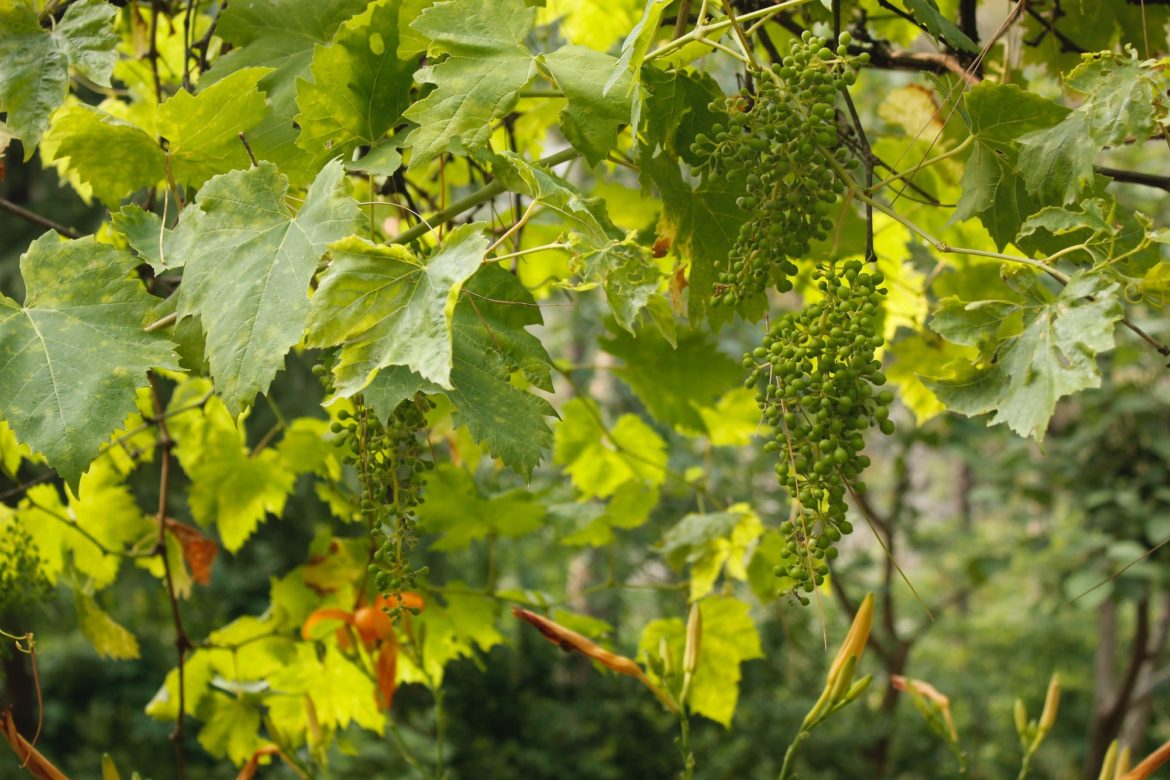
GRAPEVINE :
Okay, wild grapevine does not look as dreamy as this, but I’m trying to inspire you. LOL. Basically, it looks very similar to this, but is more of a wild child. Tiny little grapes, and not looking too tame. Wild. Like us. 🙂
Grapevine is generally easy to acquire, since most farmers just love to get rid of it. Grapevine causes harm because it chokes out trees and takes over everything in sight. Don’t let it. Pull it off, wrangle it, and it is yours to turn into a ball. Pffft. At it again.
2.
After you have stripped the grapevine, you are left with the brown woody stem for wrapping around the beach ball.
I usually deflate the ball midway through the project and after the grapevine ball starts to take shape. Don’t even get me going on deflating balls. Never mind. haha. Don’t try to sneak the beach ball out after the grapevine ball is complete. You will need to murder the beach ball if you wait that long. Pull out the beach ball while you still have ROOM to pull it out.
Get that?
I used annoying CAPS LOCK for that beach ball bit.
Annnnnnd, I make my friends help me. Gather friends and beach balls. You’ll be fine. Wrap the beach ball.
3.
Have your wire and wire cutters handy. I prep a bunch of pre-cut wire, so I am not wrangling with the wire cutters, wire, ball, and grapevine all at once. I am not that coordinated. Wrap, wire it in place.
Wrap, wire. Rinse, repeat.
I usually work with different sizes of balls* errrhmerrrgerd. Now I want to tell myself to shut up. If I say balls again, you have permission to punch me.
The different sizes of beach balls will give you different sizes of lighting balls <— Punch.
From this to this…..
A wee sidebar note:
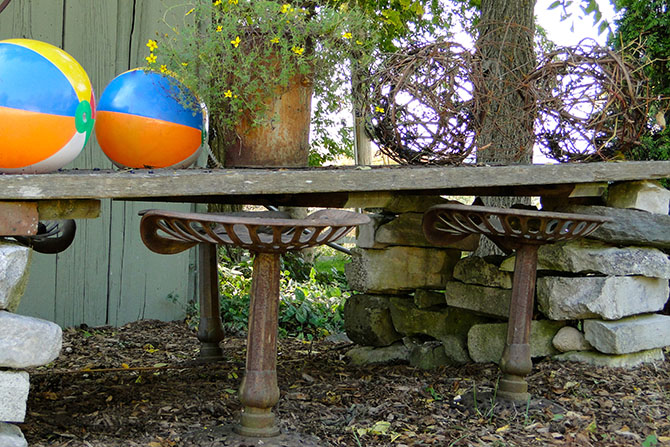
Wondering why I have a table built of stones and old boards?? I left my Mom and her friend alone outside my barn one day. Not alone actually. They were armed with liquid fermented grapes wine. No joke. Hours passed. A whole lotta laughing went on. I think one of them pee’d their pants. The other one went on a disappearing act for a while and created a grapevine angel using an old staircase post. I swear. I could not make this stuff up. And then.. And then… there was a TABLE.
4.
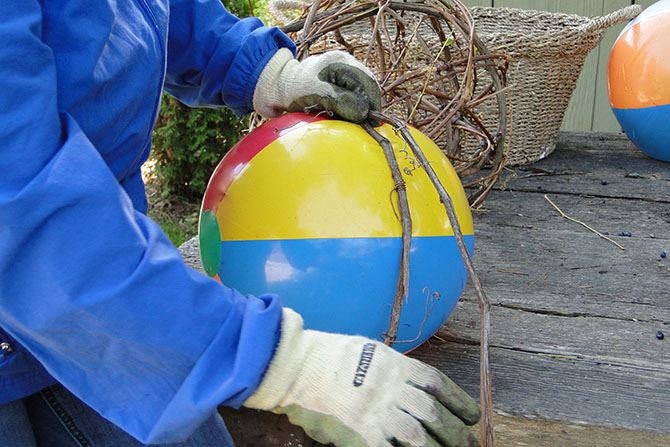
As you wrap the beach ball with the grapevine, secure it with your pre cut wire to ensure a solid hold. It will seem tricky at first, sort of like rolling a mammoth ball of yarn. Once the ball gets going though, it gets easier. Ewwwh. Unattractive gloves. Sorry ’bout that.
5.
After the grapevine ball starts to take shape, you can then deflate your beach ball. Continue to work by building up more grapevine around the beach ball. Just keep adding the grapevine, in circles around the ball, like you are rolling a ball of wool. A big ball of wool. Something like what the green giant would use to knit a sweater.
Don’t sweat it too much if you don’t get all the grapes and leaves off the grapevine ball. They will eventually dry up and fall off. Like a baby belly button, except that was a gross analogy. Ditto ewwwwhhh.
6.
Finished !!! When you are finished , you need to stand back and admire it.
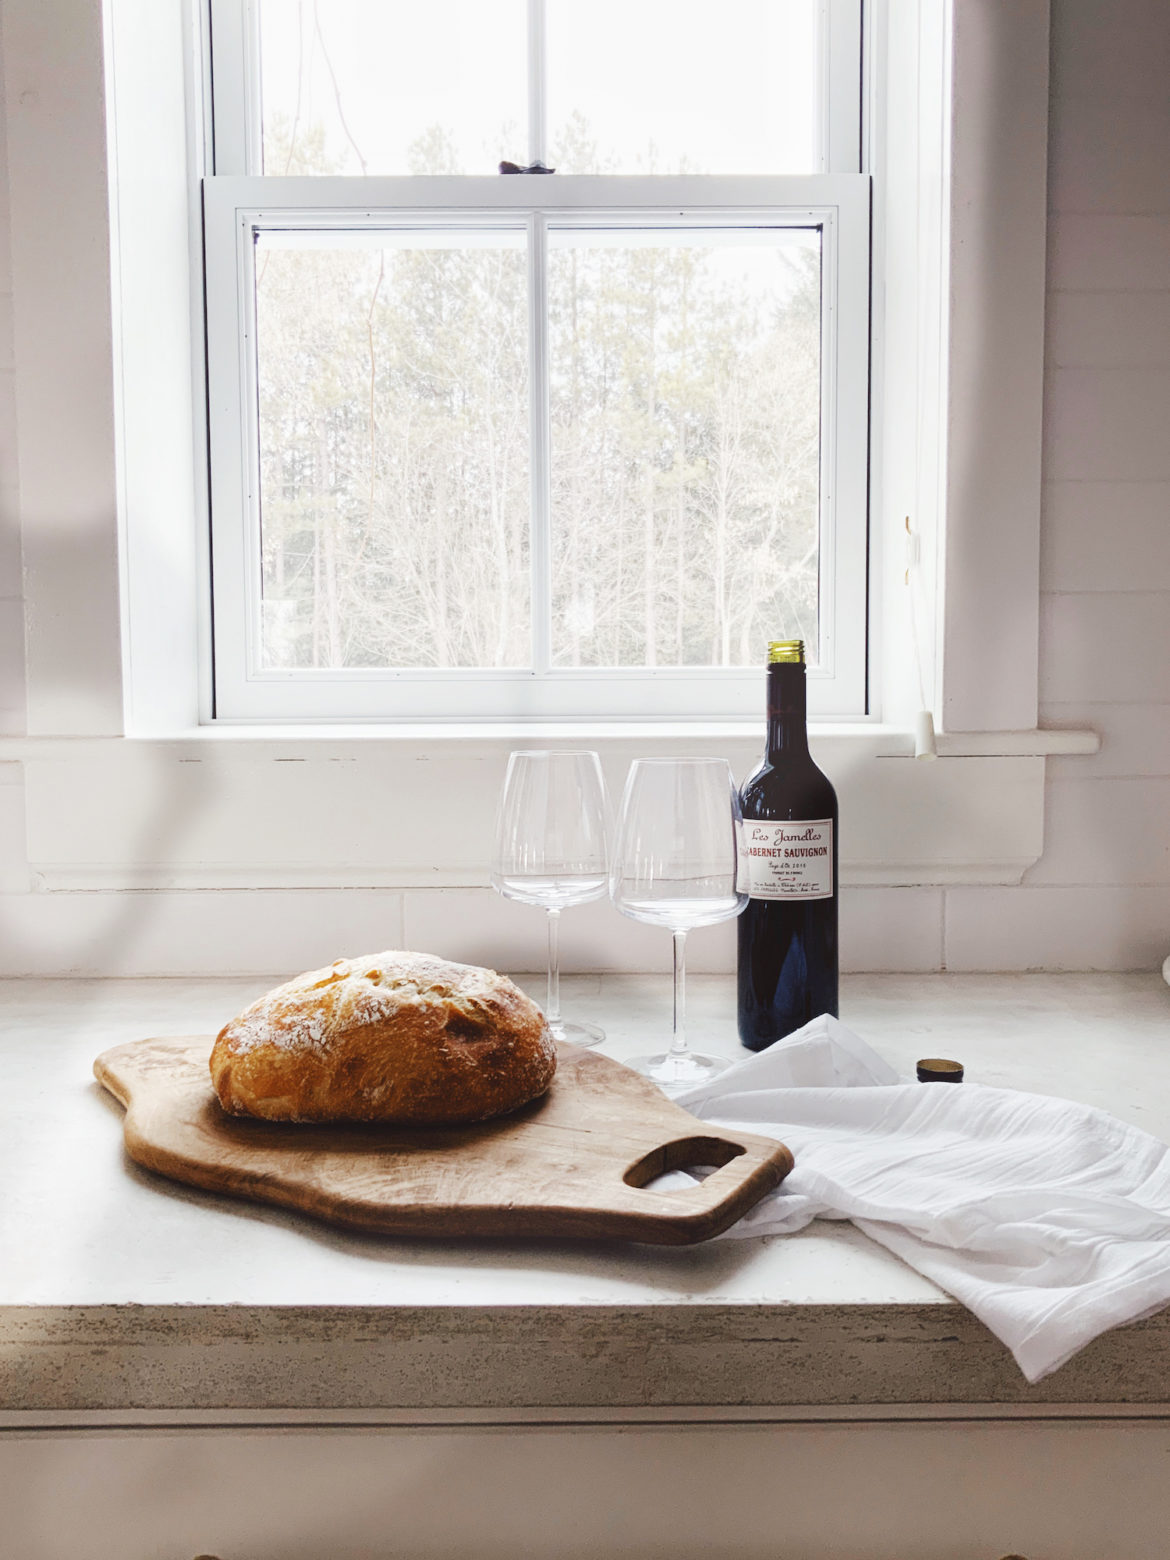
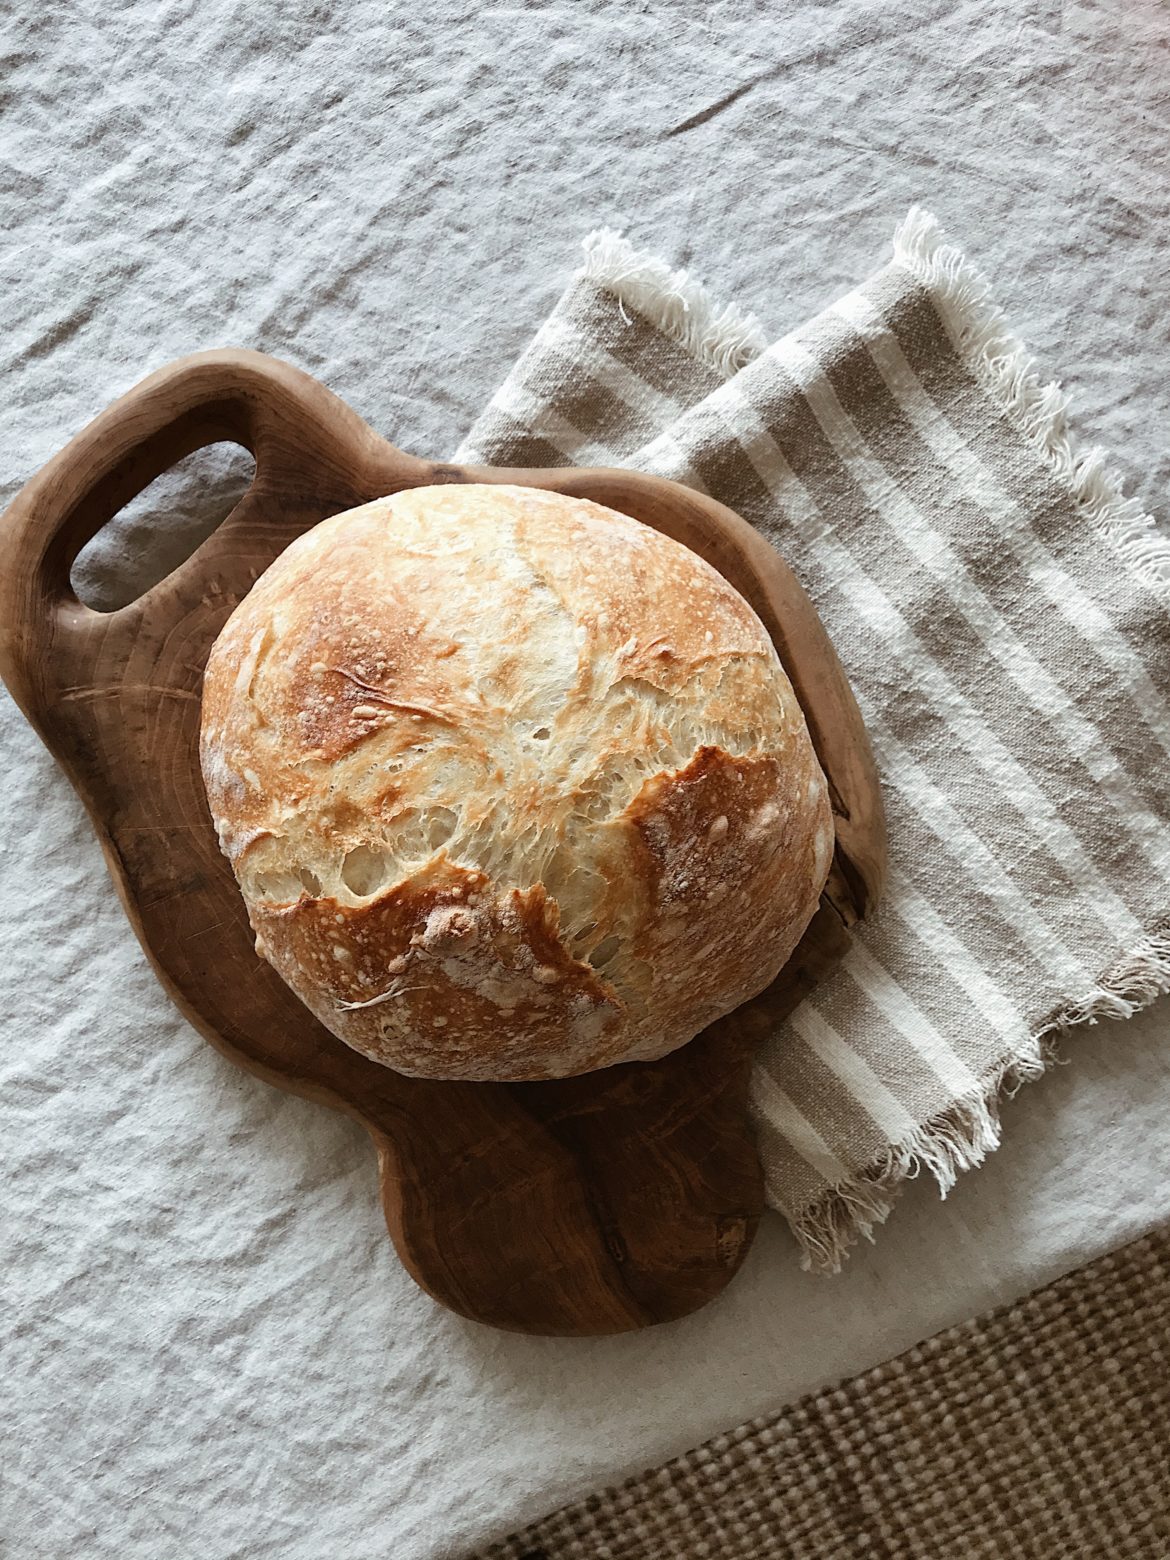
At this point, I went and celebrated … wine, and bread too ! PS. we have an ahhhhmazing no-knead bread recipe here on the blog too. It’s SUPER simple to make! Recipe here. See photos here on Instagram too!
After all that celebrating, I forgot to take photos of what it looks like to string the twinkle lights on it. It is not rocket science. I know you can do it.
String lights FIRST, drink wine AFTER.
7.
Wrap the mini lights around the balls. You can be quite random. No rules here.
8.
You can now add a chain or rope to hang your balls. I usually scramble around the house or barn and look for random chains. I steal them from the kids bikes or my husbands workshop. Failing that, I have used the extension cord itself to hang the balls. That is not technically correct (or a strong/long term /smart decision) but I am so excited to hang them, I don’t care.
9.
Attach electrical tape to secure the mini light plug to the extension cord and keep it free of rain and little creepy critters.
10.
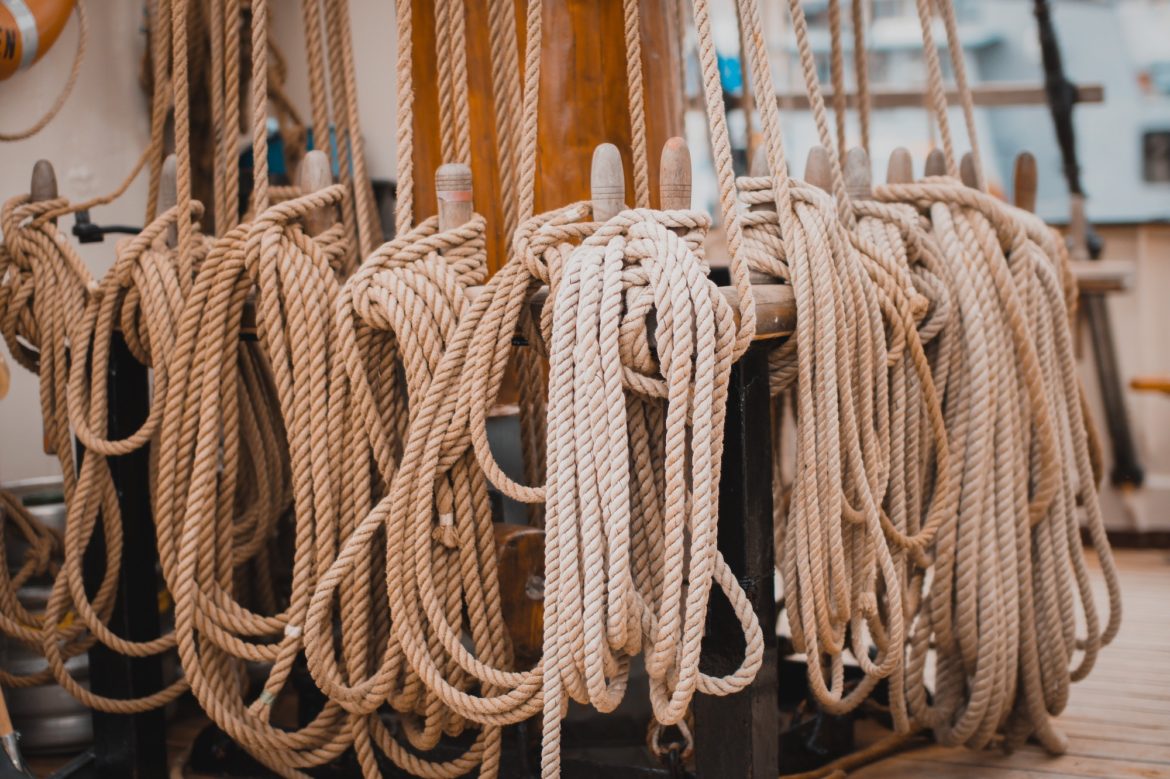
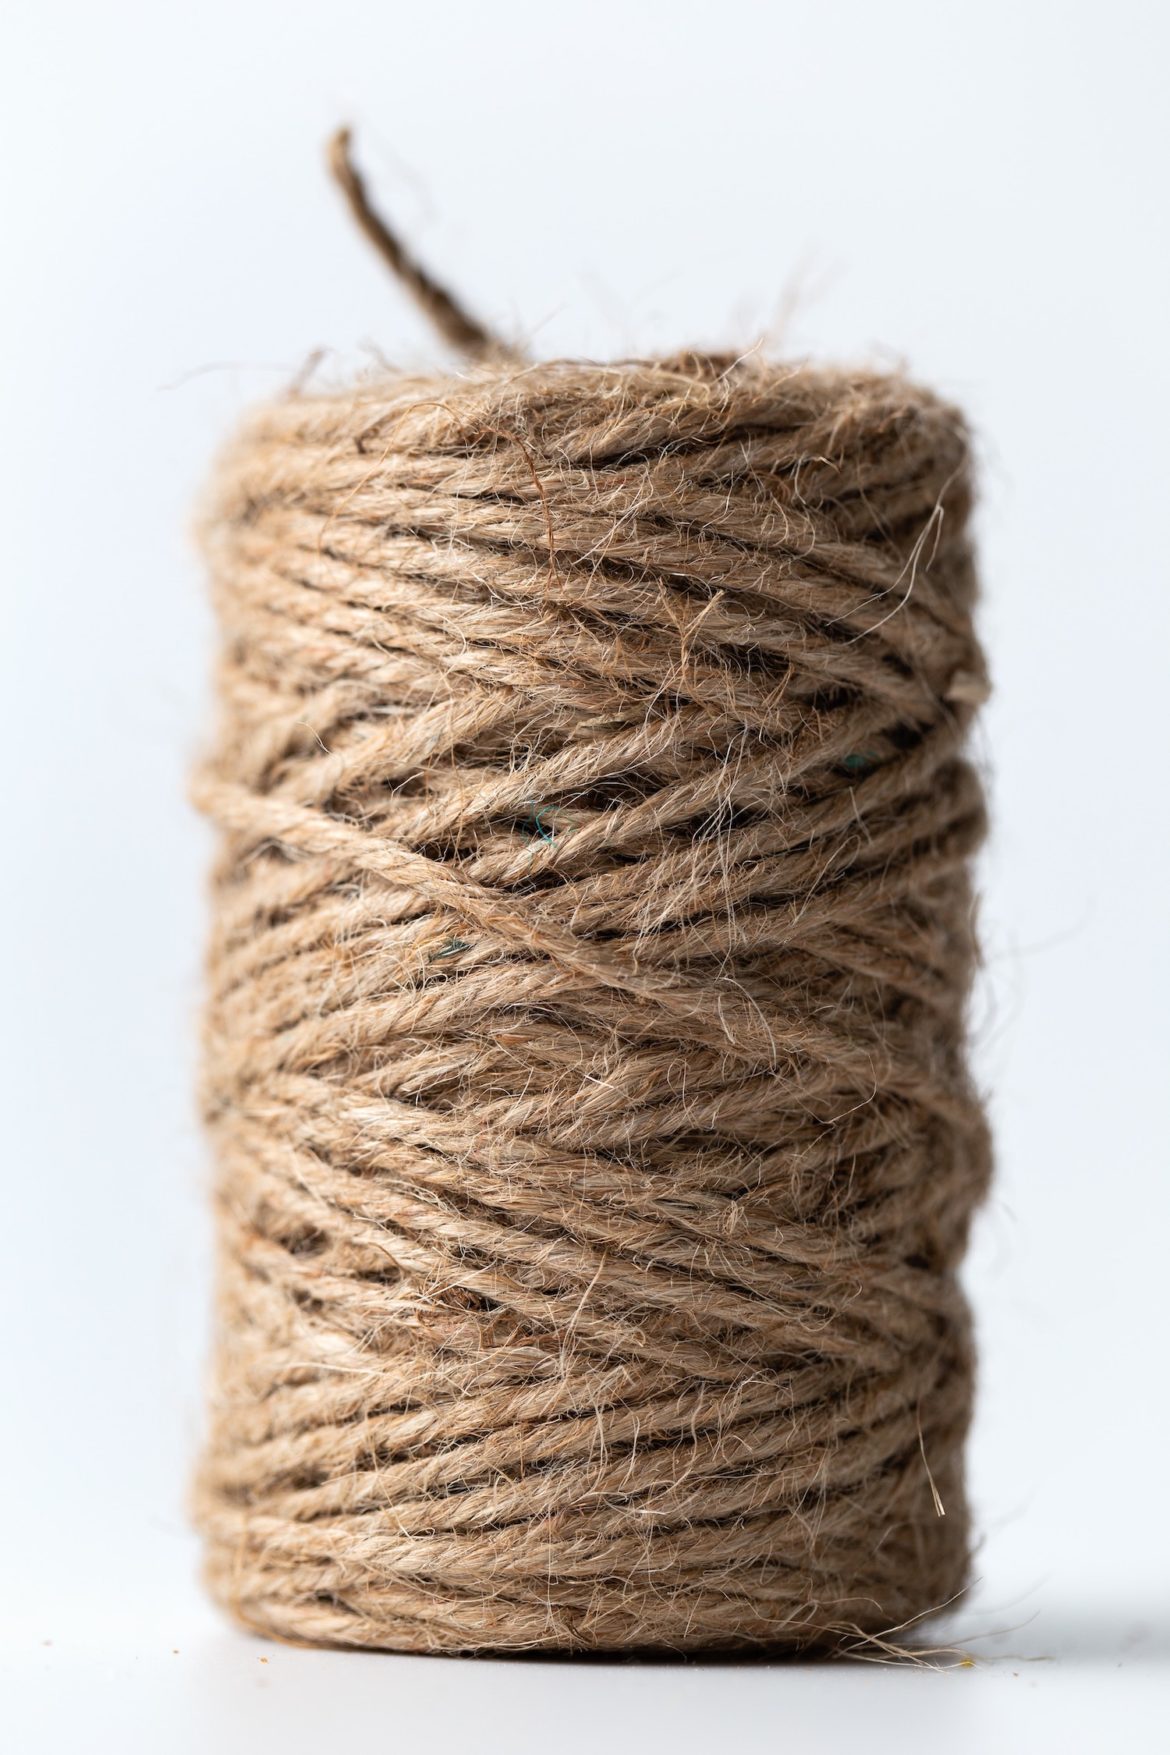
If you feel like growing a wild hair, use a big ol’ rope or funky twine. Check this one out. It’s gorgy gorgeous!! Interesting rope is a nice twist if you are feeling artistically twisted. Or braid it. I don’t care. Hang that ball.
WORST CASE SCENARIO :
PLAN B : You have no grapevine. You have no mini lights. You have a lot of wine. You have a bit of time. You have WIRE.
Make these :
How to make a wire ball…
Same deal. Start with a beach ball. Minus the grapevine. Minus the just about everything except wire. Wrap wire around the beach ball, and secure it with your small precut pieces of wire. Wrap little wire ‘knots’ to hold the big wire together. I used old fencing wire to create ours. I left the finished wire ball in the rain to rust. Rust is funky, man.
Sip your wine.
Admire your balls.
Done.
I’m so very grateful that you took the time to read the blog.
Big love and THANK YOU !!
shop the post

